Byron Stafford is 80, lives in the mountains of northeastern Arizona, and has been building guitars since 1956. He wrote us this piece on wood, patience and abrasives, illustrated with photographs of his own builds from 1958 to this year.
Byron Stafford built his first guitar at seventeen, out of necessity, because in the England of the early 1960s there were no kits to buy. He is eighty now, living in the mountains of northeastern Arizona, and he is still building.
We asked Byron whether he would write something for other builders. What follows is entirely his, in his own words, lightly formatted and nothing more. He talks about why wood is still alive after it reaches your bench, why the hardest part of a build is making it look good, and why he waits a full month before he polishes a finish.
Mark's note: I'm Mark. I've been playing guitar for more than ten years, and I have never had a builder explain the patience side of this craft the way Byron does here. If you are about to open your first kit, read the second section before you touch a screwdriver. Links to our own guides are mine, added beside the point they relate to. Every other word on this page is Byron's.
A guest piece by Byron Stafford
My name is Byron Stafford. I am an old man, an 80-year-old British expatriate living in the mountains of northeastern Arizona or, as I like to put it, 200 miles from anyone who cares. With age comes wisdom, or so we hope. So let me say plainly, at the outset, that I do not consider myself an expert or an authority on anything. I am not even the best guitarist I know. I do not play like anyone else, and sometimes I wish I could play like the people I idolize. Which is why it still humbles me when I am onstage with one of them and they lean over and say, "Man, I love the way you do that."
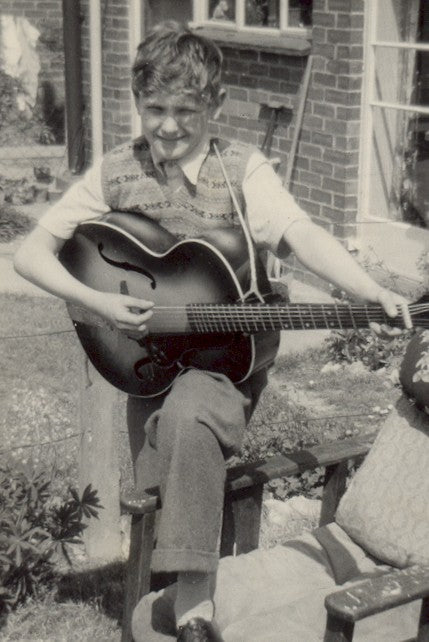
Byron in 1958, aged twelve, with the 1957 archtop that was his first proper guitar. Courtesy of Byron Stafford.
I have been a working musician since I was 16, back in 1962, and I have been building, repairing, and modifying guitars any time I had a workshop and tools within reach. There were no guitar kits in my early days, so I scratch-built my first guitar at 17 and my second the year after. I went on to play them in some of the major recording studios around London, including one whose name you would know. In those days I could not have told you a truss rod from a tailpiece. Plenty of store-bought guitars did not even have reinforced necks. My first proper guitar, a 1957 archtop, had only a steel-reinforced neck. The adjustable truss rod was a new luxury reserved for high-end instruments.
Mark's note: That same adjustable truss rod is standard on every kit we sell now, and it is the first thing worth understanding before you set a neck. We cover it in our guide to truss rod adjustment.
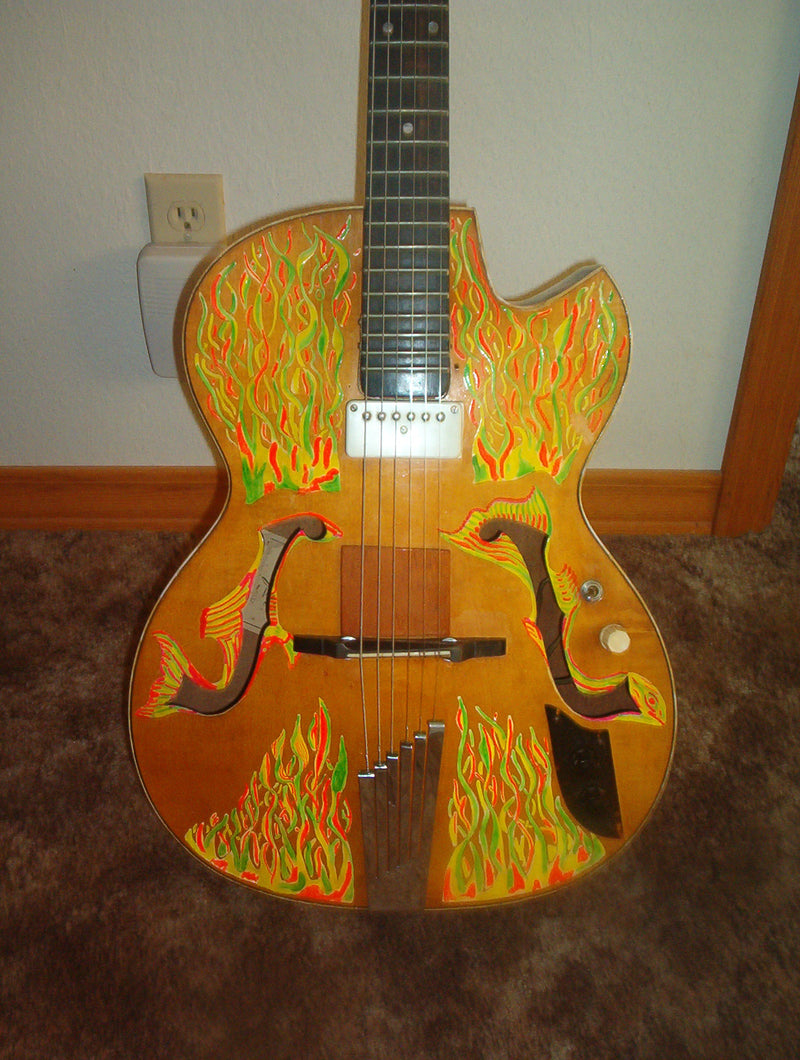
The 1957 archtop again, a decade later. Byron hand-painted the flames onto the top in 1968. Courtesy of Byron Stafford.
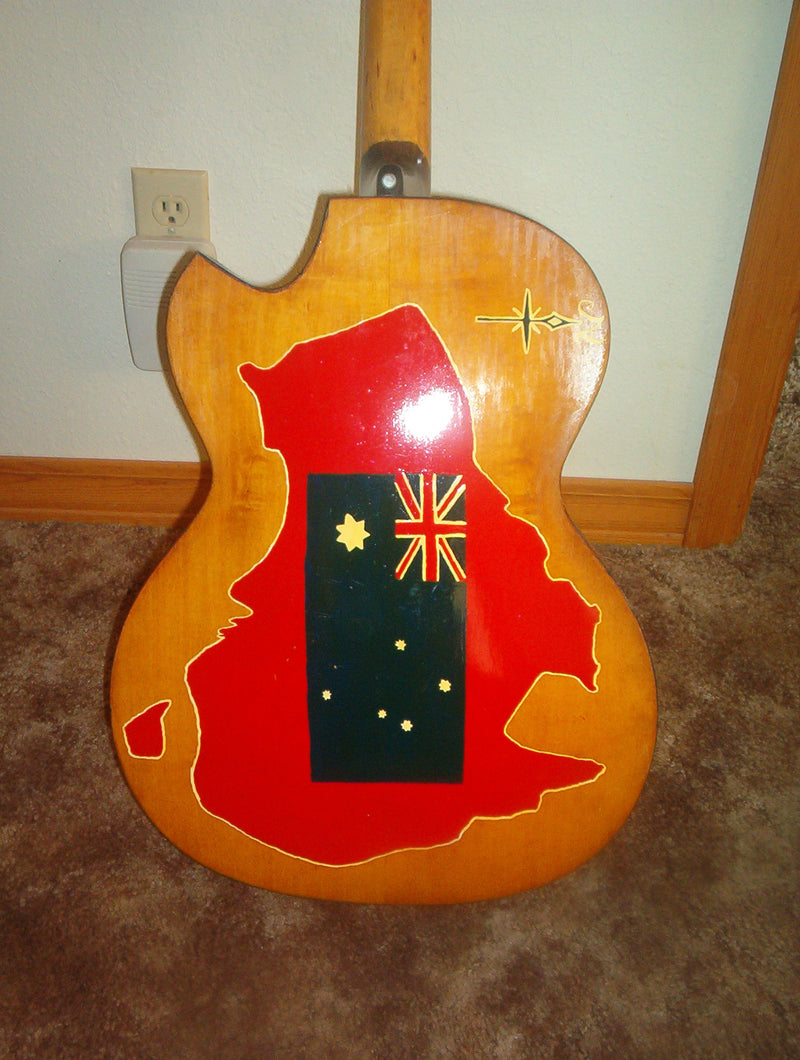
The back of the same guitar, painted with the outline of Australia and its flag. Courtesy of Byron Stafford.
The electric guitar, and the electric bass especially, was still in its infancy. Most luthiers back then had come up making violins, mandolins, and banjos, and they built guitars with a violin-maker's mindset. Innovation was driven by the players, and the manufacturers learned from us. I am not claiming I taught anyone anything, though I once had a question passed along to a very famous guitarist through a mutual friend who had gone to school with him. Two weeks later the answer came back, apparently in his own handwriting. Did I influence him? I doubt it. Did I keep the note? Sadly, no.
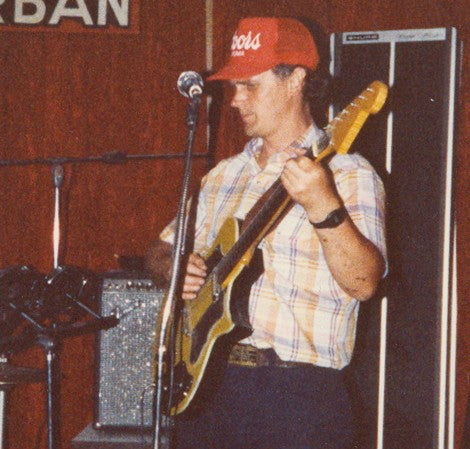
Onstage in 1978 with a guitar he rescued and rebuilt piece by piece. Courtesy of Byron Stafford.
The same instrument today. Decades of stage work wore the finish down to this. Courtesy of Byron Stafford.
But I do not want to bore you with career history, some of which I doubt you would believe anyway. I want to talk plainly about building guitars, and pass on a few tips that matter.
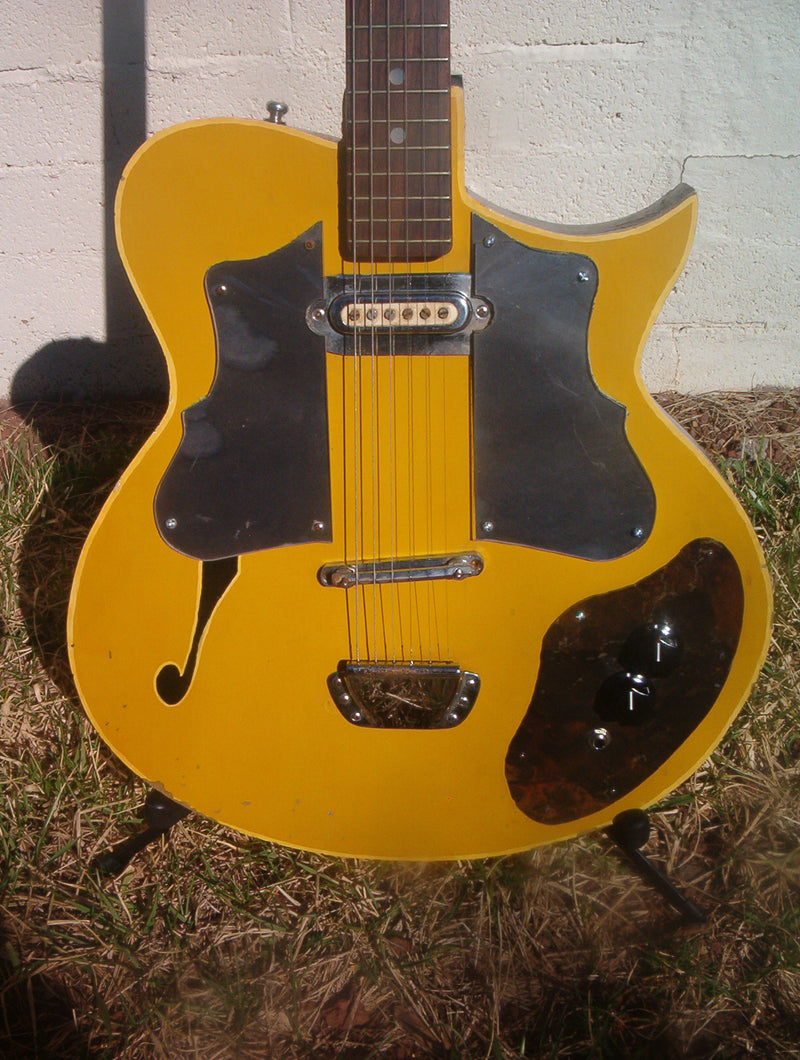
The 2012 build, his first from a kit. Courtesy of Byron Stafford.
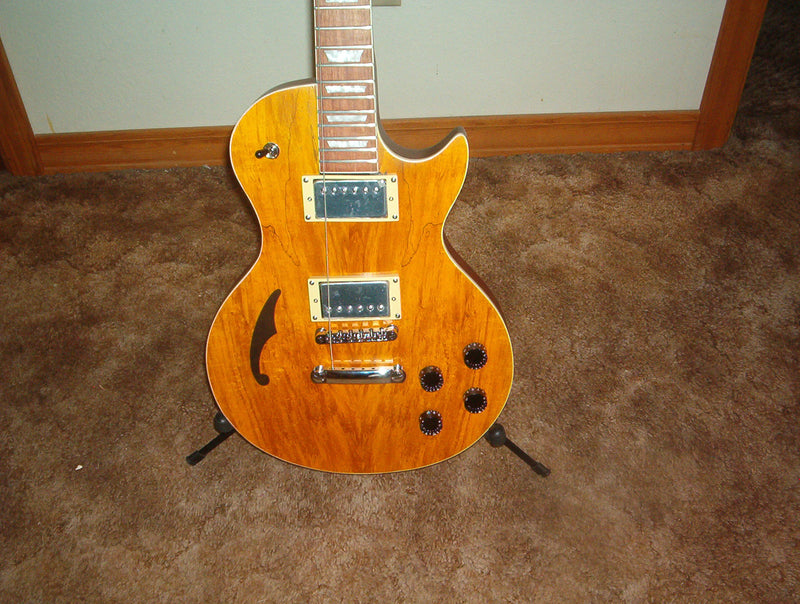
2015. The bird on the body is his own artwork. Courtesy of Byron Stafford.
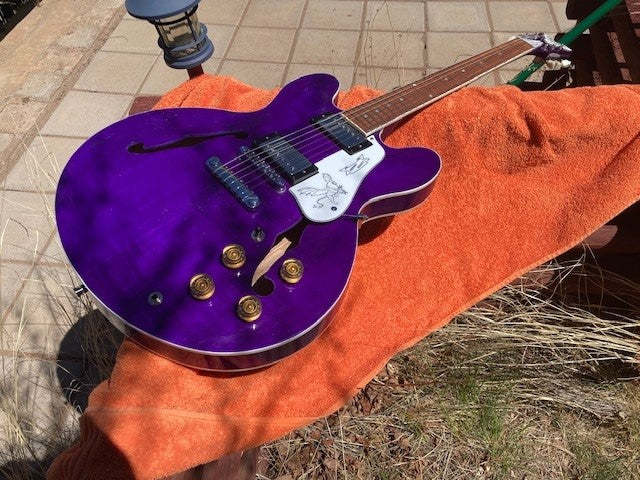
2020. A transparent purple semi-hollow with gold hardware. Courtesy of Byron Stafford.
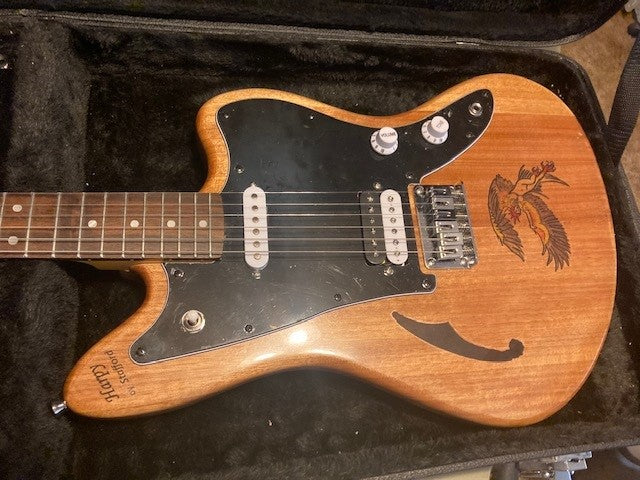
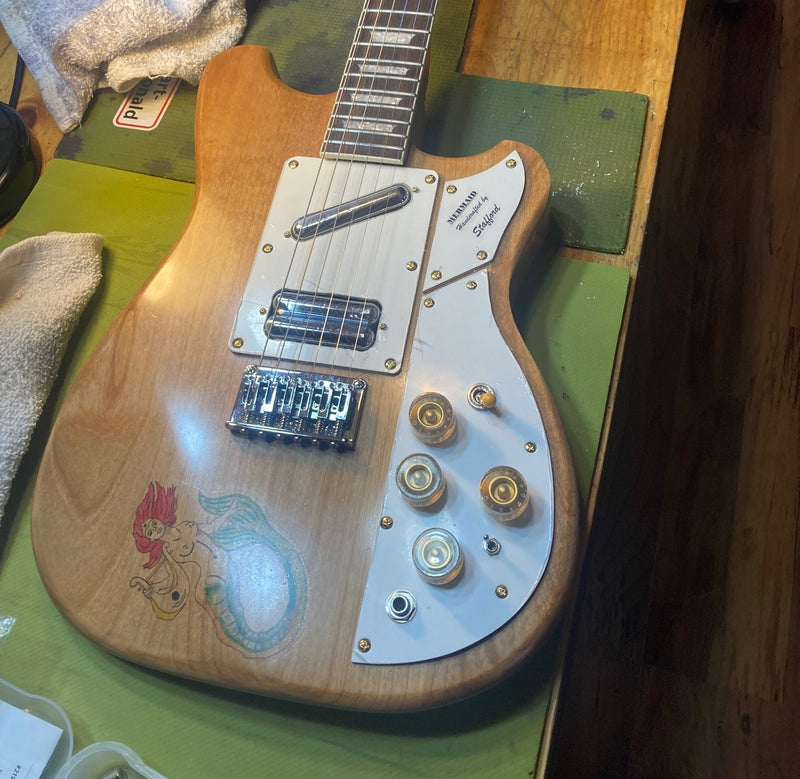
2022, scratch-built. The mermaid is hand-drawn, and the pickguard carries his own maker's mark. Courtesy of Byron Stafford.
I did not build my first kit until 2010. Everything before that was scratch-built with a handful of modest hand tools. I have always loved wood, the smell of it, the feel, the grain, the color, everything. I still build with hand tools wherever I can. Make a mistake with a hand tool and you can usually stop, back up, and recover. Make one with a power tool and it is often catastrophic and over before you know it. A beautiful piece of wood becomes firewood in a heartbeat.
So here is my first real tip, and it costs you nothing but patience.
The main component of a guitar is wood, and wood is organic. Unlike brass or steel or aluminum, it is plant fiber, cells, grain, knots, and a hundred microscopic things even I do not fully understand. It has been harvested, cut, kiln-dried, and machined, and yet it is still, in many respects, a living thing. It breathes. It moves, warps, cracks, even changes color.
Mark's note: This is the single most useful thing on this page, and almost nobody does it. If you want the material science behind it, start with how tonewoods behave, and see what humidity does to a neck joint for what happens when wood is not given the chance to settle.
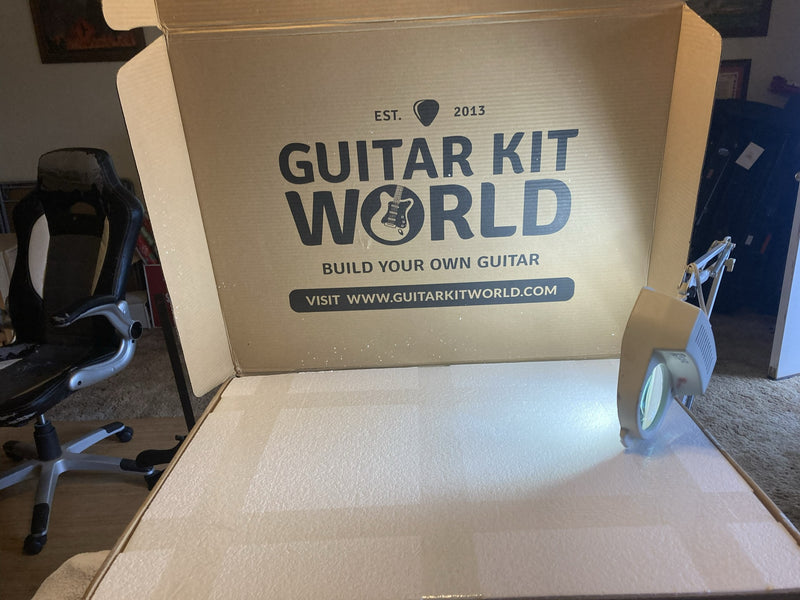
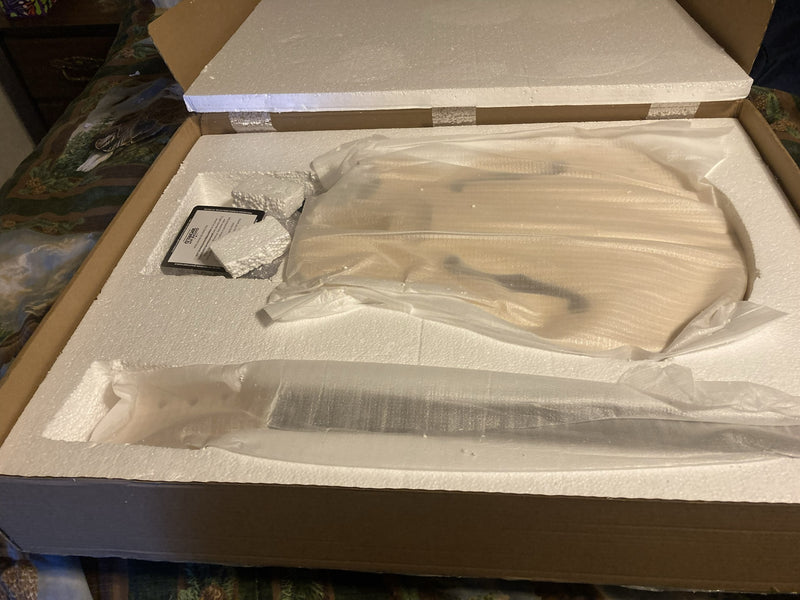
So when your kit arrives, do not tear into it. Building a guitar is meant to be savored, like a fine wine (though I drink neither). A good wine may have sat in the bottle for decades. You do not guzzle it in twenty seconds. You let it breathe. Treat your kit the same way. Open the box, inspect everything for damage, then put it back and leave it in the room where you will build it for a full week. Leave the lid open if you can, or cut a few holes in it. That wood was very likely grown in one country, machined in another, then shipped and stored across who knows how many altitudes and humidities. It needs to acclimate to your space before you touch it.
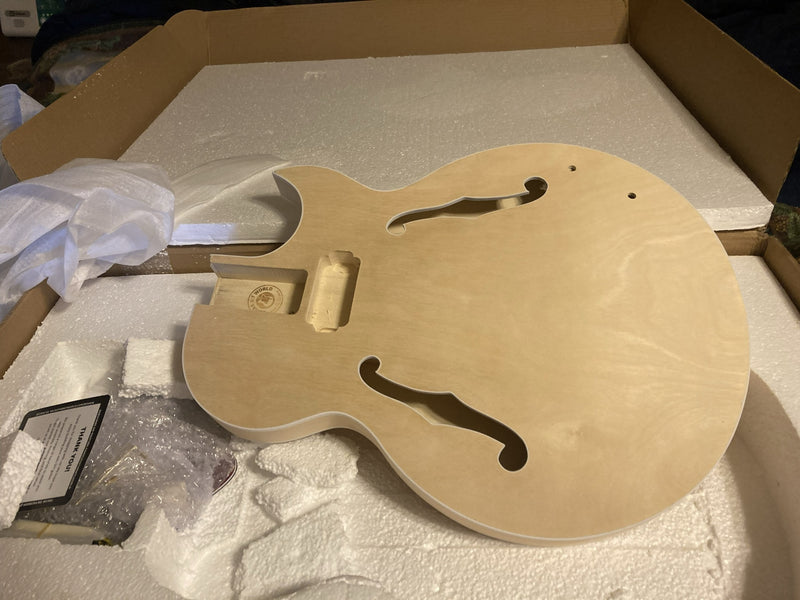
Step one: open the box, and stop there. Courtesy of Byron Stafford.
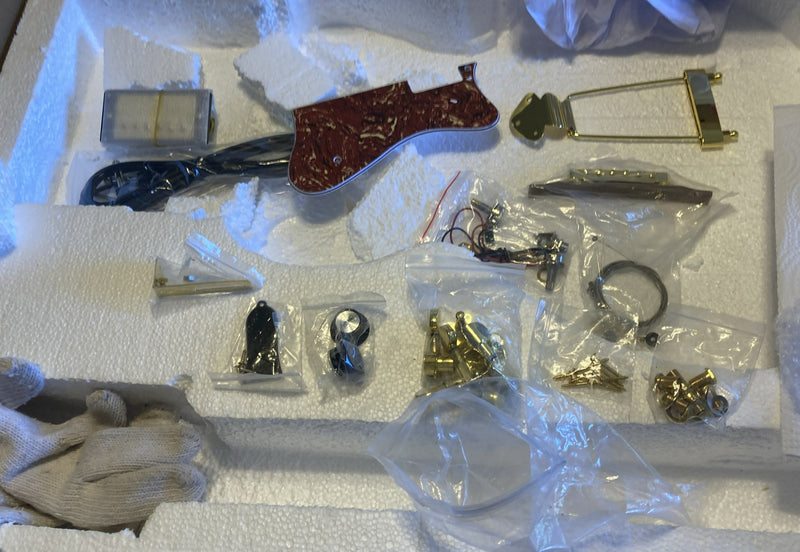
Step two: lift the foam lid. Everything is still bagged, and it stays that way. Courtesy of Byron Stafford.
Step three: check the body for shipping damage without lifting it out. Courtesy of Byron Stafford.
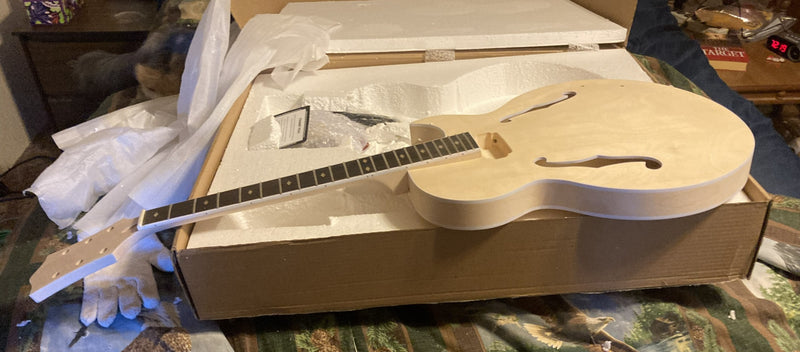
A neck and body laid out for a look, then put back. The week starts now. Courtesy of Byron Stafford.
Taking inventory against the parts list, one of the few jobs worth doing on day one. Courtesy of Byron Stafford.
I learned this lesson decades ago from a bass I bought in 1972. Tied to one of the tuners was a slip of paper with instructions for protecting the finish from checking. It read, more or less: when you arrive at a club, take the case to the back of the stage and open the lid, but do not remove the instrument. Let it sit, untouched, for fifteen to thirty minutes. Only then take it out and tune it. If you look at old guitars, even expensive ones, you will often see fine cracks across the back of the neck and checking on the body that makes the finish look like cracked asphalt. That simple habit of letting it acclimate minimizes it. I have watched seasoned players open a case in a hurry, lay it on a table, and gently waft the lid back and forth just to get some air moving around the wood.
The hardest part is making it look good
Anyone reasonably intelligent can screw or glue a guitar together. It takes a bit more to do it right, and some real experience to make it genuinely easy to play. Wiring is its own adventure, that is where it gets tricky. But the honest truth is that the hardest part of building a guitar is making it look good. And the most expensive part is good wood, which is essential to good tone.
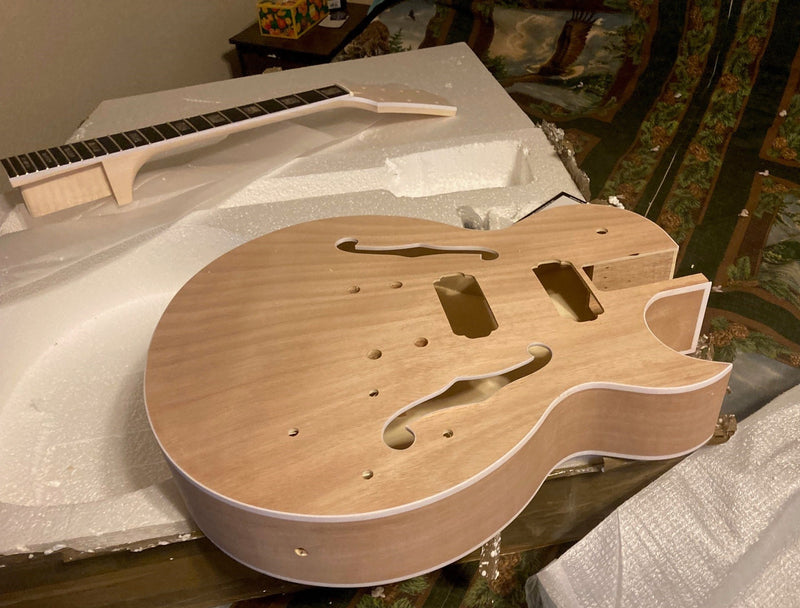
His seven-string semi-hollow at the raw-wood stage, before any sanding or sealing. Courtesy of Byron Stafford.
The two most important tools you will own are not glamorous. First, clamps. You can never have too many, and they need to be decent quality. I have well over a hundred, large and small. Second, and this is my most important practical tip, a wide assortment of quality abrasives.
I once watched a luthier explain that nearly every tool in his large workshop was, in one way or another, for sanding. If you want good results and easier work, do not use the sandpaper from the corner hardware store. You want the European P-system papers. Turn a good sheet over and it will clearly say P-320 or P-800. They cost more and they are worth every penny.
Where do you find them? Plenty of places online, but if you live near a decent-sized town, try an auto parts store, especially one that supplies paint and auto-body shops. When you sand, work up through the grits in order and do not skip any. I start around 220 and climb from there. Skipping grits only means chasing scratches you could have avoided.
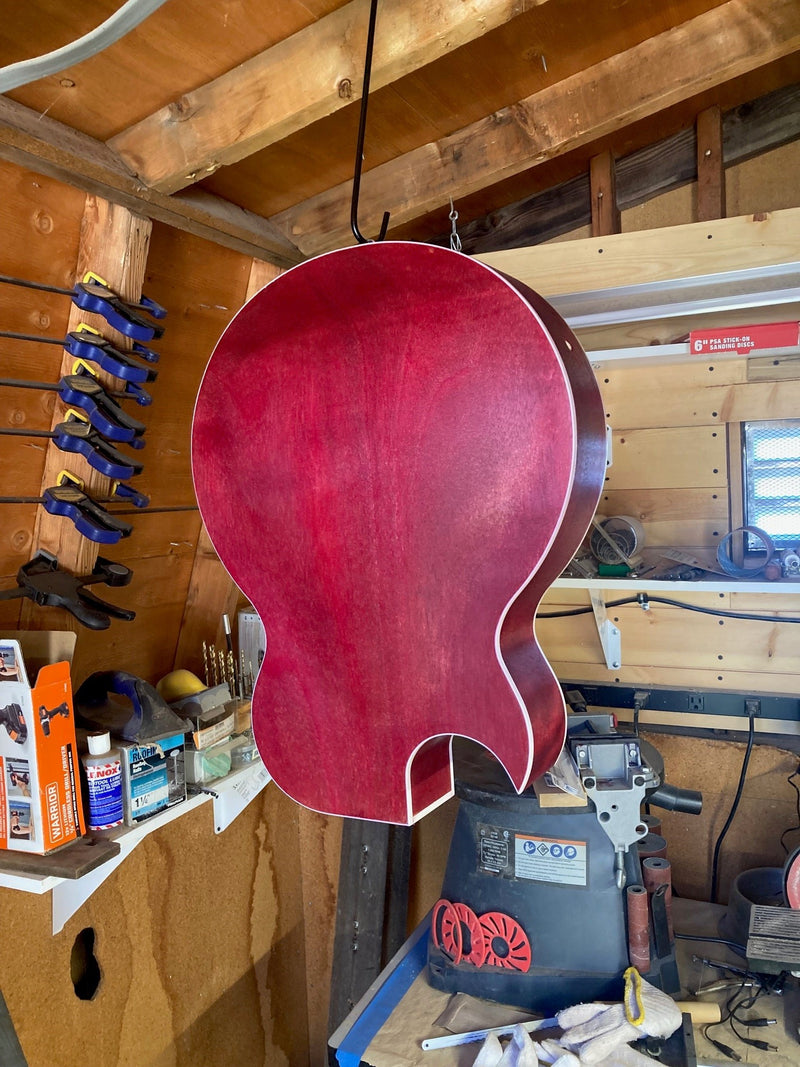
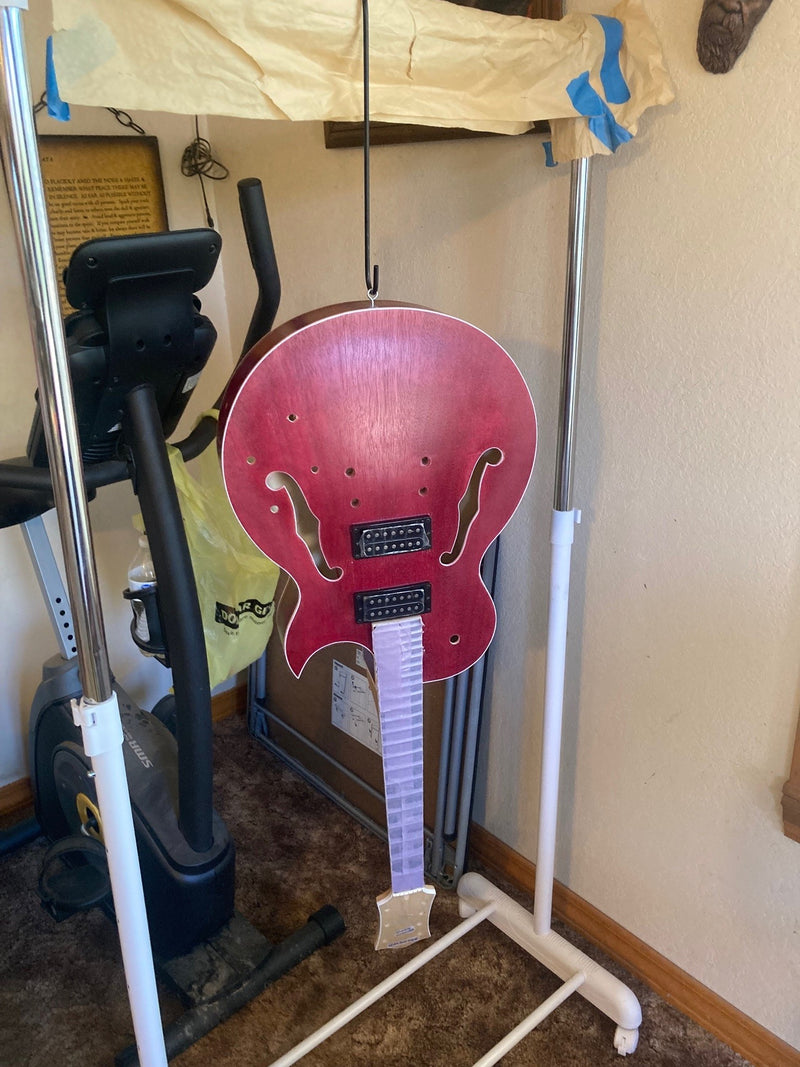
When I say finishing, I mean the sanding, painting, and polishing, not the guitar being done. And here is a tip I cannot stress enough: whatever finish you apply has a cure time. It might be 24 hours or a month, and in truth a finish keeps curing for its entire life, fifty years or more. With nitrocellulose lacquer, the absolute minimum is two weeks, and I always wait a full month before I level-sand and polish. I have a guitar hanging in my closet right now, one week in and still in two pieces, waiting.
The same seven-string hanging after a sealer coat, with the clamp rack behind it. This is what waiting looks like. Courtesy of Byron Stafford.
Here is why it matters. As a finish cures, it shrinks. If you have not properly filled the grain, sealed the pores, and sanded the wood first, that finish will shrink back into every pore and crevice and leave you wondering what went wrong.
My current build is a laminated maple semi-hollow, and because the top is so beautiful it is going under totally clear lacquer. The top is a lovely light flame, a higher grade than the back. A day after the last clear coat, the top was already close to a mirror. I have watched it day by day as the finish shrinks and the whole thing gets shinier on its own, with me doing nothing at all. When I finally polish it with my finest abrasives, which go all the way to an almost unimaginable grit, it will take very little to make it glow.
Pickups in, hanging while the finish continues to cure. Courtesy of Byron Stafford.
That kind of patience pays off in strange places. On one build I had a clear pickguard whose edges I had to sand flush, which scratched the surface badly. I wet-sanded it until it looked like frosted bathroom glass, then kept going, grit by grit, until I held it up and it had gone completely transparent again. That last stage happened so fast I carried it outside just to look at the blue sky and clouds through it. The whole pickguard took three months and around 250 USD in tools and materials.
Nobody ever said building a guitar was cheap. If you want cheap, go to a swap meet. Do not waste your time building cheap, it impresses no one, least of all you. Though I will admit my very first "build," at ten years old in 1956, was a cardboard box from one of my brother's model kits, a scrap of wood, a little can of red lacquer, and four rubber bands. I suspect my father bought me my first real guitar simply because he could not stand the racket I made on that box, wailing away at the top of my lungs.
There is no single right way
This has run longer than I intended, so I will stop. I hope you have found some of it useful. Let me leave you with this: there is really no right and wrong way to do most of this. There are just different ways with different results. Some are plainly foolish from the start, sticking your finger in a light socket to check for power is not wise, and I know because I have done it. But the fact that my way works for me does not make it the only way.
It is a genuine pleasure to watch a professional at work and think, "Oh, they do it the same way I do." The craft has changed a great deal over the decades. These days you do it whatever way works for you, and, frankly, whatever way you can afford. That is the beauty of it.
Thank you for reading. - Byron Stafford
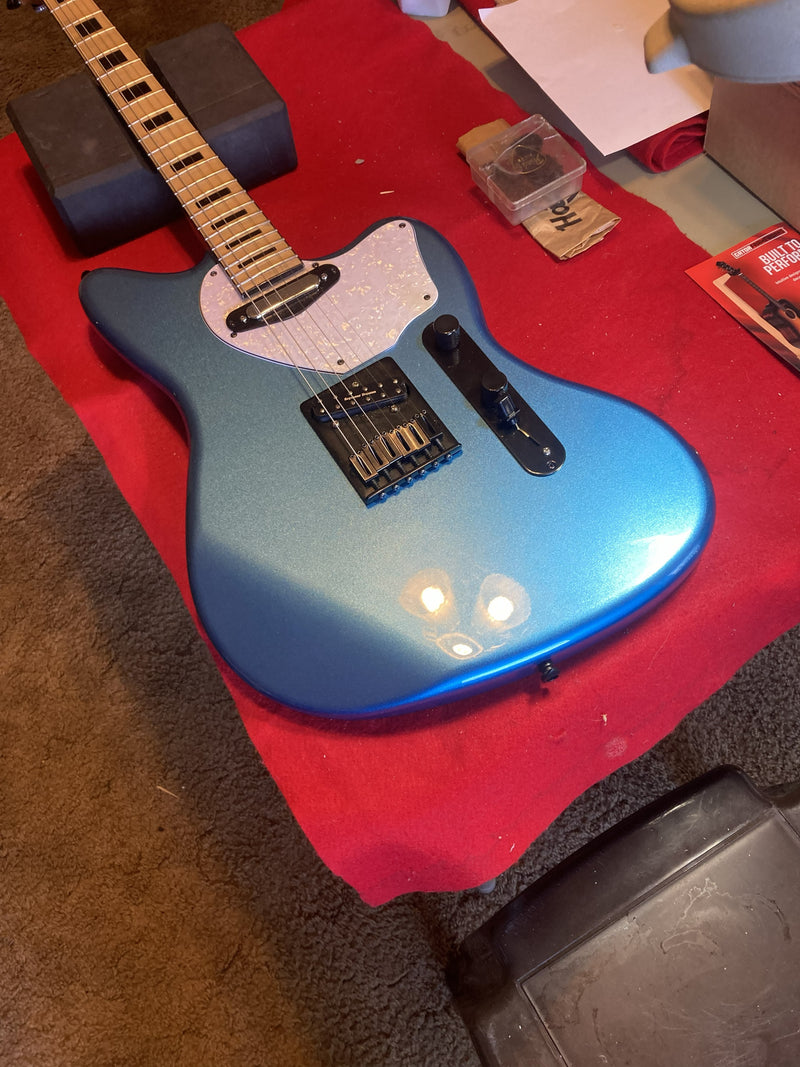
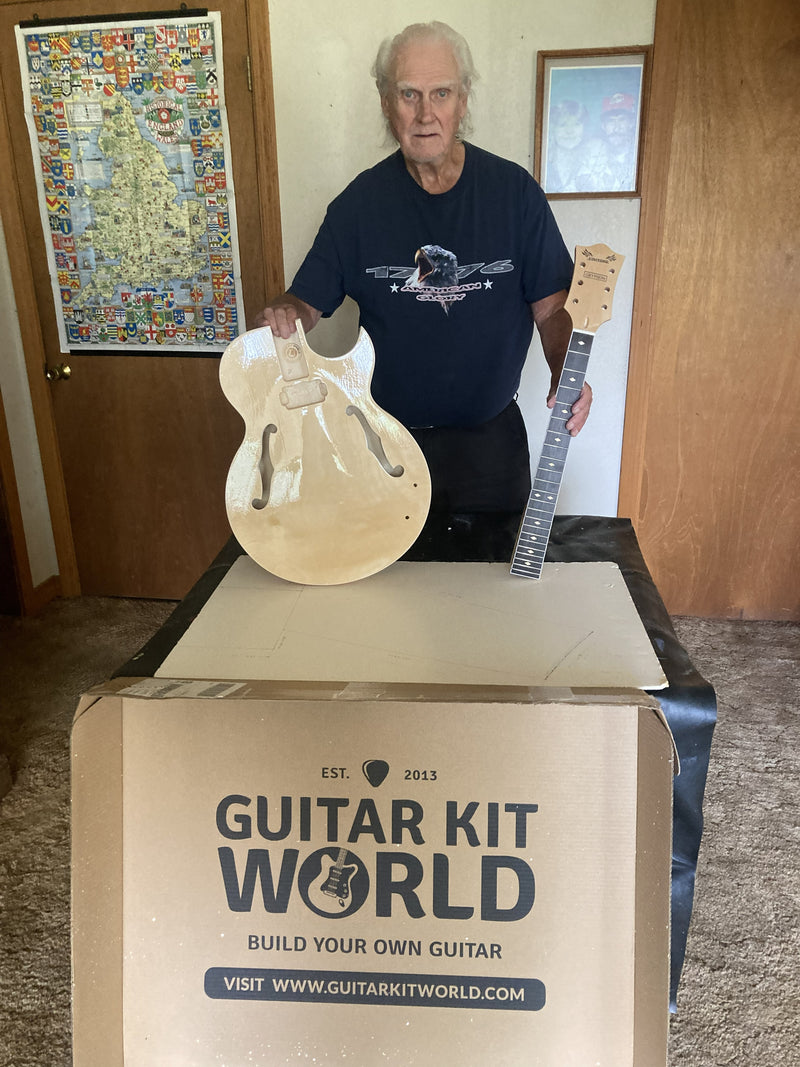
Byron with his newest kit, unpacked and not yet started. Courtesy of Byron Stafford.
Build the same kit
Another day, another build. The kit in Byron's hands above is the one he unpacked in July, and by his own rule it sat in the room for a week before he touched it.
Our thanks to Byron Stafford for writing this, and for the photographs, which span 1958 to this year.
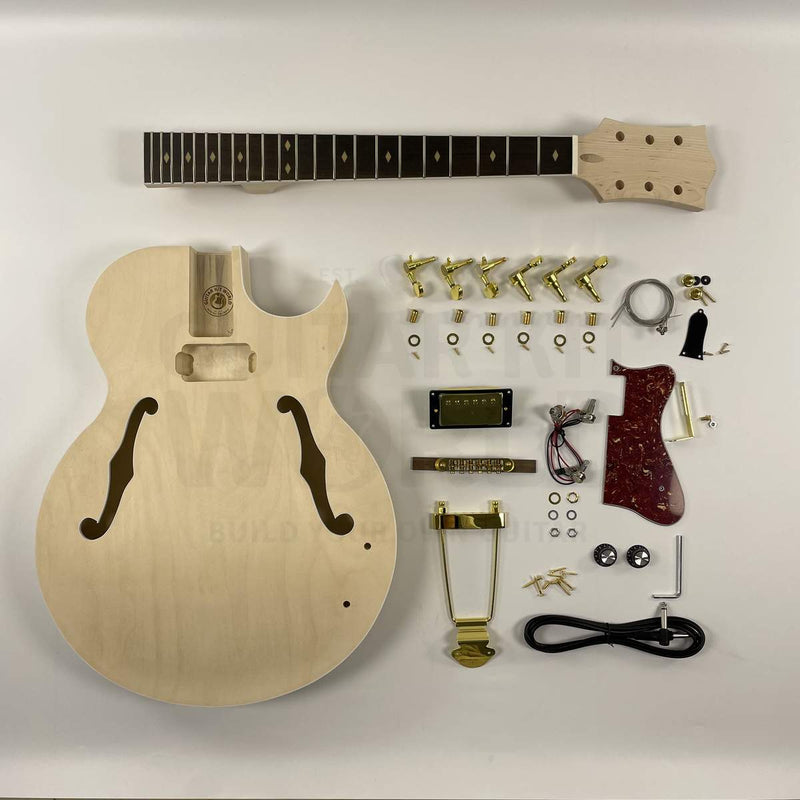
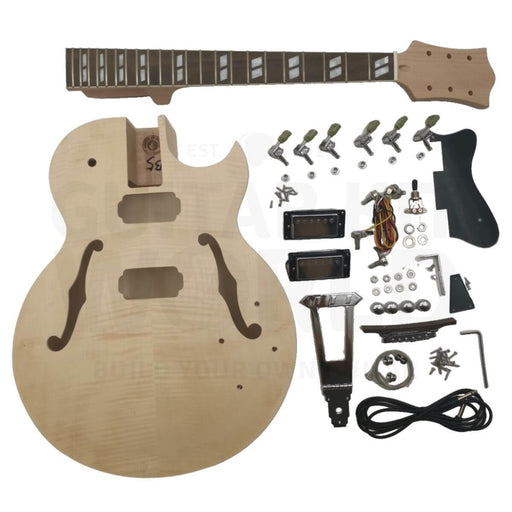
Three hollow body kits to practice this on
Byron's advice applies to any kit, but it earns its keep on a hollow body, where the top is thin, figured and unforgiving. These three are in stock now.
Byron's sixty-odd years of building started with a cardboard box and four rubber bands. Wherever you are on that road, there are builders in our community at the same point.
Whether you're planning your first build, experimenting with a custom finish, or creating a guitar that reflects your own artistic vision, we'd love to see what you're working on.
Join theGuitar Kit World communityto share your build, connect with fellow makers, ask questions, exchange ideas, and discover inspiring projects from builders around the world. Your next idea could come from another member, and your finished guitar could inspire someone else's journey.
Become part of the conversation and show us what you create.
Finishing is the one guitar-building step you cannot undo. So Steve Madden practiced on six plywood bodies first, then gave his quilted maple kit five thin coats of Tru-Oil. Here is his method, and how he fixed the binding when it turned yellow.
Doug DeLuca and his sixteen year old son turned a bare quilted maple top into a deep blue burst, and the figure still reads through the darkest part of the rim. Here is the dye versus pigment decision that made it work, why the edges are the darkest part of the guitar, and what you can copy on your own figured top.
Christoph and his son Fionn wanted a deep even black on an open-grained mahogany body with the figure still showing through, and the pores kept drying lighter than the surface. Follow the build from the bare kit to the finished bass, and see how they diagnosed it and what you can copy from their approach.

 Mark Maneja