Peter-John V. drew the entire top of our semi-hollow kit in colored pencil, straight onto bare flame maple, with nothing removed and nothing painted. He sent us the full run of photographs and video, so here is the build in order, from the first outline to the finished artwork.
Visual artist Peter-John de Villiers, better known as @theshallowtree, is no stranger to our kits. You may remember the Ancient Egypt themed guitar he hand-carved from our Mahogany TR-style kit. That build removed wood. This one adds color, and nothing else.
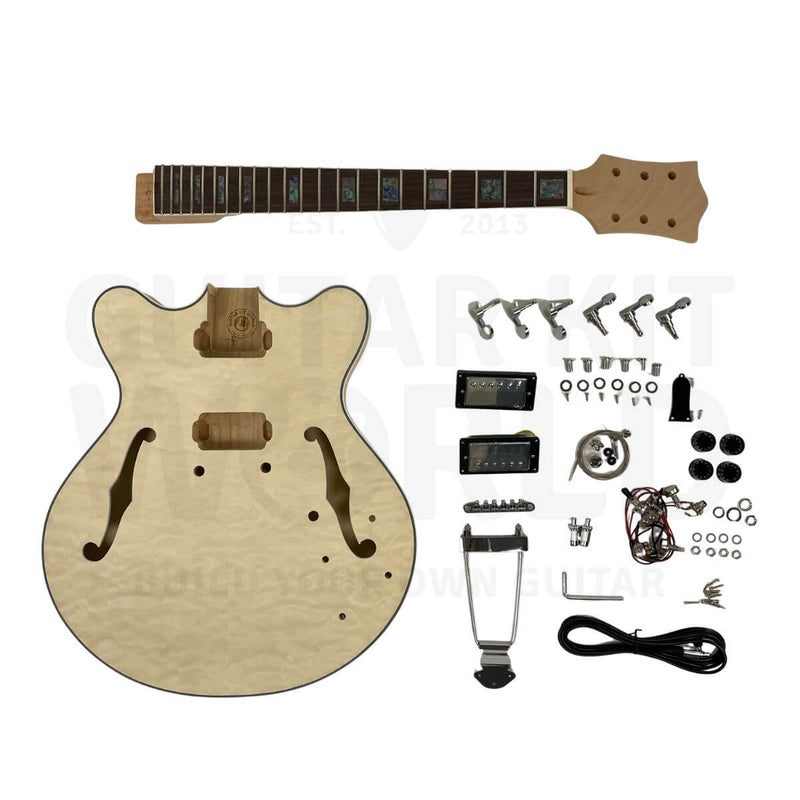
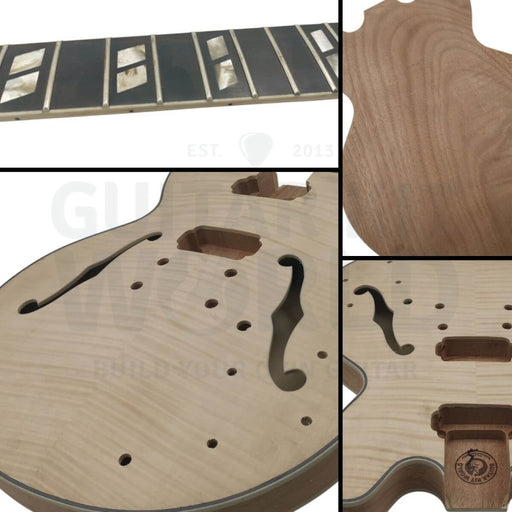
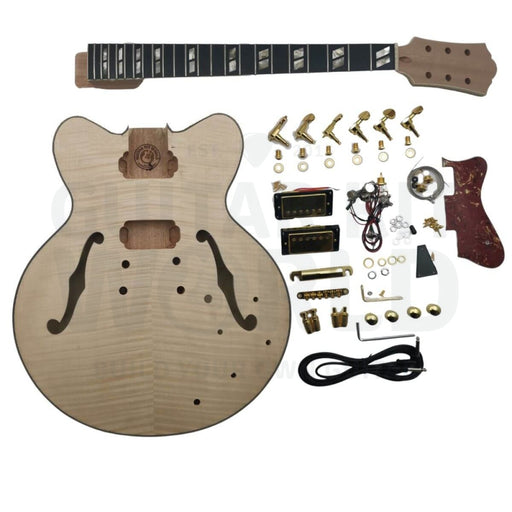
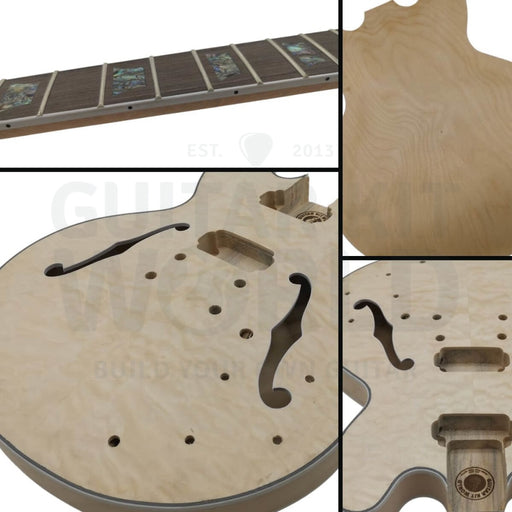
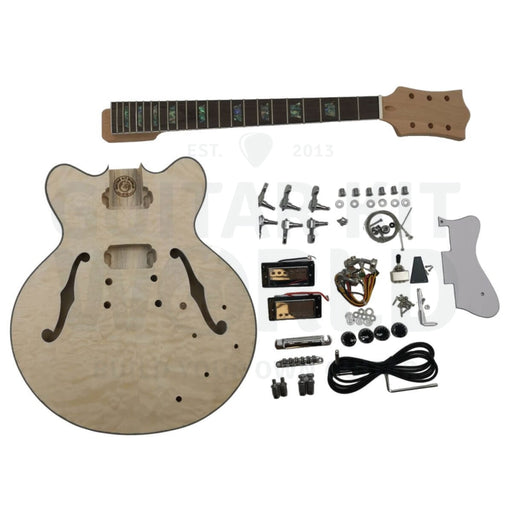
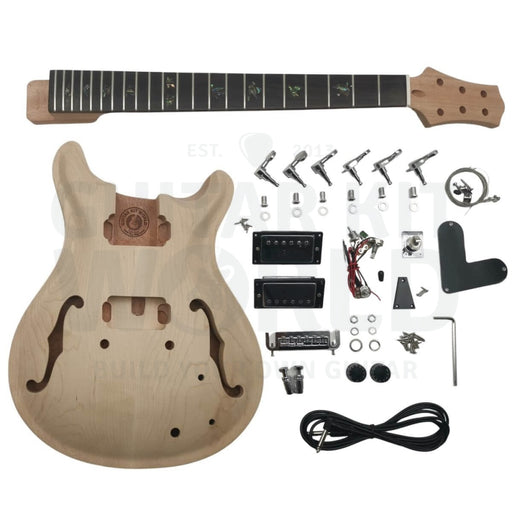
His starting point is the Semi-Hollow Double-Cutaway Electric Guitar Kit, Flame Maple Veneer: maple plywood body, flamed maple top veneer, mahogany center block, set-in mahogany neck, rosewood fretboard with block inlays, two humbuckers, and a tune-o-matic bridge with a trapeze tailpiece.
Most builders reach for stain or nitro. Peter reached for a pencil case. The top now carries large lilies in sepia and ochre, scrollwork running out toward the horns, spread wings at the center by the tailpiece, and a single open human eye sitting between the two humbuckers. The flame in the veneer still reads through the color, so the wood is part of the drawing rather than a surface under it.
A drawn top cannot be repeated. Stain and lacquer can be matched batch to batch, but a line laid into bare wood by hand happens once, at the moment it is drawn, and every mark on this guitar is a decision that only exists here. The kit underneath it is one we stock. The instrument on top of it is the only one there will ever be.
Mark's note: Peter sent us the full run of photographs and video from this build and let us publish them. What follows is the whole thing in order, from the first outline on bare wood to the finished instrument.
Stage one: the whole design goes down in outline first
Before any color, the entire composition is drawn onto the bare top as a light outline. Every lily, the moth and the eye are already positioned around the routed cavities and the f-holes. Then the first color goes in with a yellow pencil.
The whole design already sketched onto the bare top, with the first color going into a lily in yellow. By Peter-John de Villiers, @theshallowtree, used with permission.
Stage two: one element at a time, taken to finished
He does not work the whole surface up evenly. Each shape is carried from outline to finished before the next one starts, which is why half the top can be bare while the eye beside it is fully rendered.
The eye, taken from a bare outline to a finished iris inside a single clip. By Peter-John de Villiers, @theshallowtree, used with permission.
A lily outlined and filled in beside the eye that is already done. By Peter-John de Villiers, @theshallowtree, used with permission.
Stage three: two pencils, yellow for tone and a dark one for the line
The same two-pencil method runs through the whole build. A yellow pencil lays the base tone into the grain, then a darker pencil does the outline and the shadow. Nothing is blended with solvent and nothing is masked off.
Close in on one petal. The yellow lays the base tone, the darker pencil does the line and the shadow. By Peter-John de Villiers, @theshallowtree, used with permission.
Working in tight, with the body resting on a cloth so the finished areas are not rubbed. By Peter-John de Villiers, @theshallowtree, used with permission.
Stage four: working the edges and the openings
The body sits on a cloth and gets turned rather than reached across. The hard part is the boundaries: the binding, the cavity walls and the f-hole cuts, where a line has to stop exactly on an edge that is already there.
Pulled back: the eye and the moth done, lilies going in around them, and the f-hole edge picked out. By Peter-John de Villiers, @theshallowtree, used with permission.
The lower bout, worked right up to the binding and the f-hole cut. By Peter-John de Villiers, @theshallowtree, used with permission.
The upper half complete, with no color anywhere it should not be. By Peter-John de Villiers, @theshallowtree, used with permission.
The last area closes up. He turns the body rather than reaching across finished work. By Peter-John de Villiers, @theshallowtree, used with permission.
Stage five: the finished surface
With everything filled in, the flame of the veneer still runs through the petals and the wings. That is the whole argument for drawing a figured top instead of painting one.
The eye finished, beside a routed cavity with our stamp still visible in the bare wood. By Peter-John de Villiers, @theshallowtree, used with permission.
The finished surface up close. The color sits inside the grain rather than over it. By Peter-John de Villiers, @theshallowtree, used with permission.
The completed top: lilies through both bouts, moth at the center, eye above it. By Peter-John de Villiers, @theshallowtree, used with permission.
Stage six: the artwork finished, the build not yet
Neck fitted and the hardware dropped into place. It is not wired and there are no strings on it yet, so what these show is the artwork finished rather than the guitar finished. None of the drawing changes how the instrument goes together, which is what makes this approach available to anyone who can hold a pencil.
Assembled, with the neck fitted and the fretboard inlays in. By Peter-John de Villiers, @theshallowtree, used with permission.
The moth sitting under the bridge and tailpiece. By Peter-John de Villiers, @theshallowtree, used with permission.
The eye between the two humbuckers, where a player looking down meets it. By Peter-John de Villiers, @theshallowtree, used with permission.
The finished instrument turned in the light, so you can see the flame moving under the color. By Peter-John de Villiers, @theshallowtree, used with permission.
Full body at an angle, on the wooden floor he shoots on. By Peter-John de Villiers, @theshallowtree, used with permission.
Full length, body and neck together. By Peter-John de Villiers, @theshallowtree, used with permission.
Another pass along the length of the finished guitar. By Peter-John de Villiers, @theshallowtree, used with permission.
The finished top with one of his drawings on paper beside it, which is where all of this starts. By Peter-John de Villiers, @theshallowtree, used with permission.
The kit under the drawing
The kit is a semi-hollow double-cutaway build. Maple plywood body with a flamed maple top veneer. A mahogany center block, which is the part that keeps a semi-hollow from feeding back and gives it more sustain than a fully hollow body. Set-in mahogany neck, rosewood fretboard with block inlays, two humbuckers, tune-o-matic bridge, trapeze tailpiece.
What to work out before you draw on your own top
Choose your surface before you sand. How far you take the sanding changes how much pigment the bare wood accepts, so settle it first. Read sanding a guitar body prior to painting.
Decide what goes over the artwork, if anything. A drawn top and a sprayed top have different requirements. Our guide to choosing a finish covers the trade-offs, and custom guitar finish ideas shows where hand-applied artwork sits among the alternatives.
Plan the composition around the hardware. Pickup routes, bridge posts and the tailpiece are fixed points, as the sequence above shows.
Two of his builds have run on this blog now, and neither used the same technique. The first was carved: he cut an Ancient Egypt scene into the face of a mahogany kit. This one is the opposite, drawn onto the surface with nothing removed at all.
That is the reason to follow him rather than just admire one guitar. He treats a kit top as a surface to solve, and he solves it differently each time. Every photograph and clip on this page is his.
Any of these will arrive looking like every other one we ship. What happens next is the part nobody can copy. This technique needs a top you would not want to cover up, so these three are in stock and all give you a figured or solid surface to work on.
Whether you're planning your first build, experimenting with a custom finish, or creating a guitar that reflects your own artistic vision, we'd love to see what you're working on.
Join theGuitar Kit World communityto share your build, connect with fellow makers, ask questions, exchange ideas, and discover inspiring projects from builders around the world. Your next idea could come from another member, and your finished guitar could inspire someone else's journey.
Become part of the conversation and show us what you create.
Prefer dye and oil? Steve Madden practiced on six plywood bodies before he finished his quilted maple top. See his method.
Finishing is the one guitar-building step you cannot undo. So Steve Madden practiced on six plywood bodies first, then gave his quilted maple kit five thin coats of Tru-Oil. Here is his method, and how he fixed the binding when it turned yellow.
Doug DeLuca and his sixteen year old son turned a bare quilted maple top into a deep blue burst, and the figure still reads through the darkest part of the rim. Here is the dye versus pigment decision that made it work, why the edges are the darkest part of the guitar, and what you can copy on your own figured top.
Christoph and his son Fionn wanted a deep even black on an open-grained mahogany body with the figure still showing through, and the pores kept drying lighter than the surface. Follow the build from the bare kit to the finished bass, and see how they diagnosed it and what you can copy from their approach.

 Mark Maneja