Doug DeLuca and his sixteen year old son turned a bare quilted maple top into a deep blue burst, and the figure still reads through the darkest part of the rim. Here is the dye versus pigment decision that made it work, why the edges are the darkest part of the guitar, and what you can copy on your own figured top.
Doug DeLuca and his sixteen year old son spent most of 2026 turning a bare quilted maple top into a deep blue burst at home in Minnesota. The guitar looks good, which is not the interesting part. The interesting part is that you can still see every ripple in the wood through the color, and that is the thing most builders lose.
The whole build in under a minute, from the guitar kit to the first notes. Built by Doug DeLuca and his son. Watch it on YouTube.
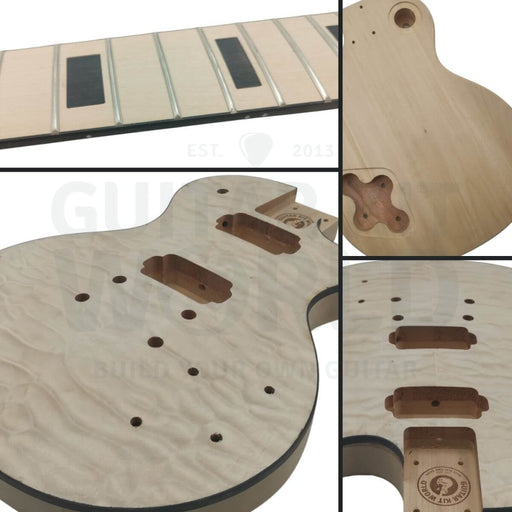
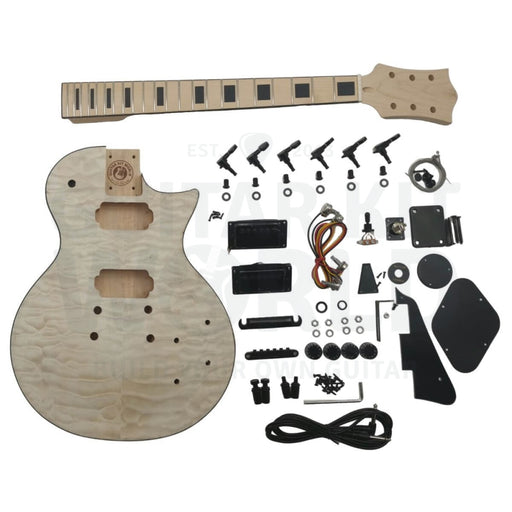
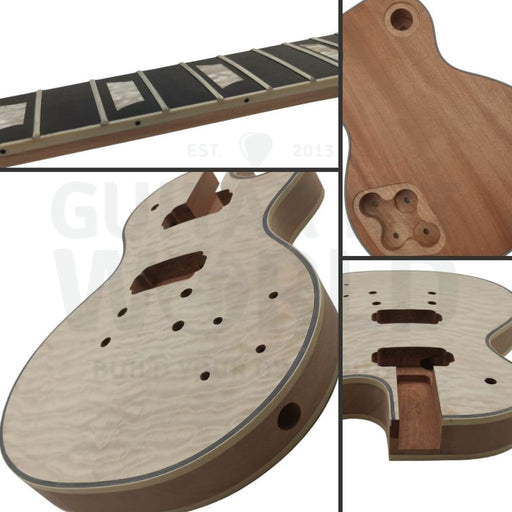
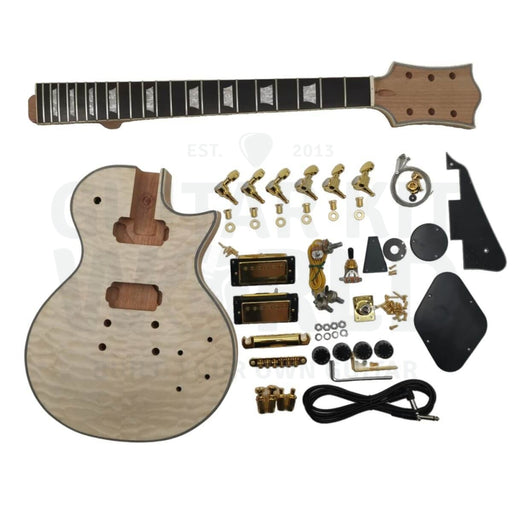
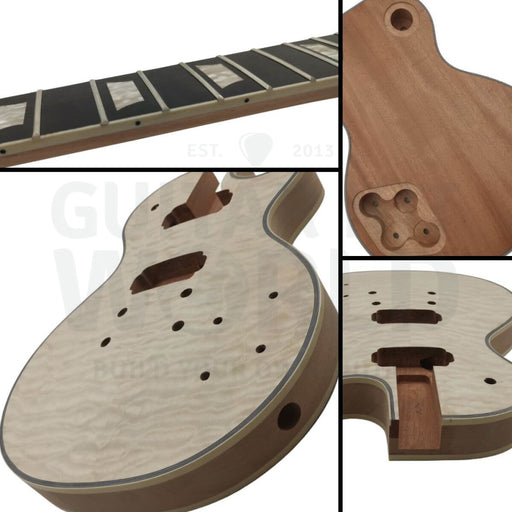
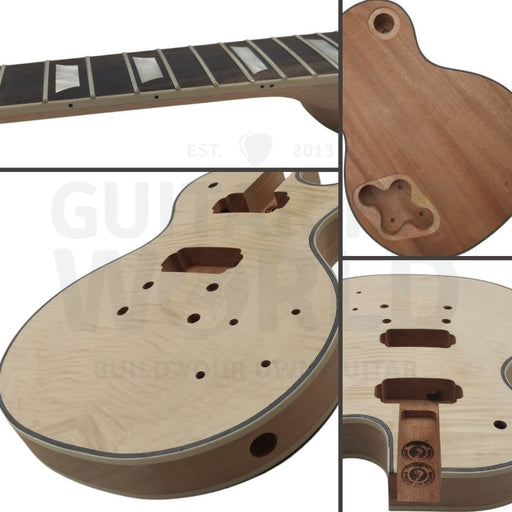
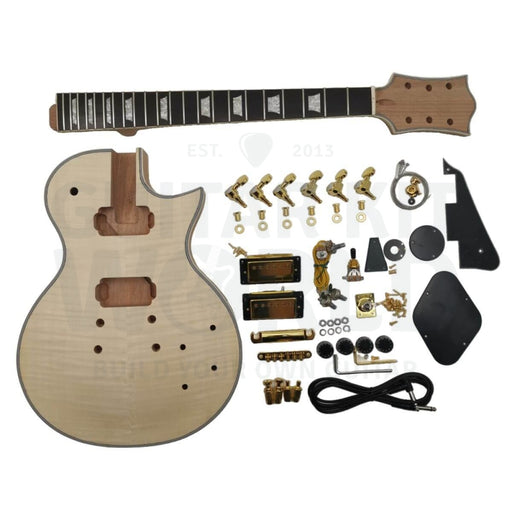
They built the L1 Basswood body Guitar Kit with Maple Fretboard, a single cutaway with a bolt-on maple neck, a maple fretboard with black block inlays, two humbuckers, and a quilted maple veneer over a basswood body. We rate it intermediate. The bolt-on neck takes the glue-up out of the job, but four pots and a toggle mean more soldered joints to keep tidy, and the veneer on the top is thin enough to sand through if you lean on the edges. That veneer is also exactly why this build works.
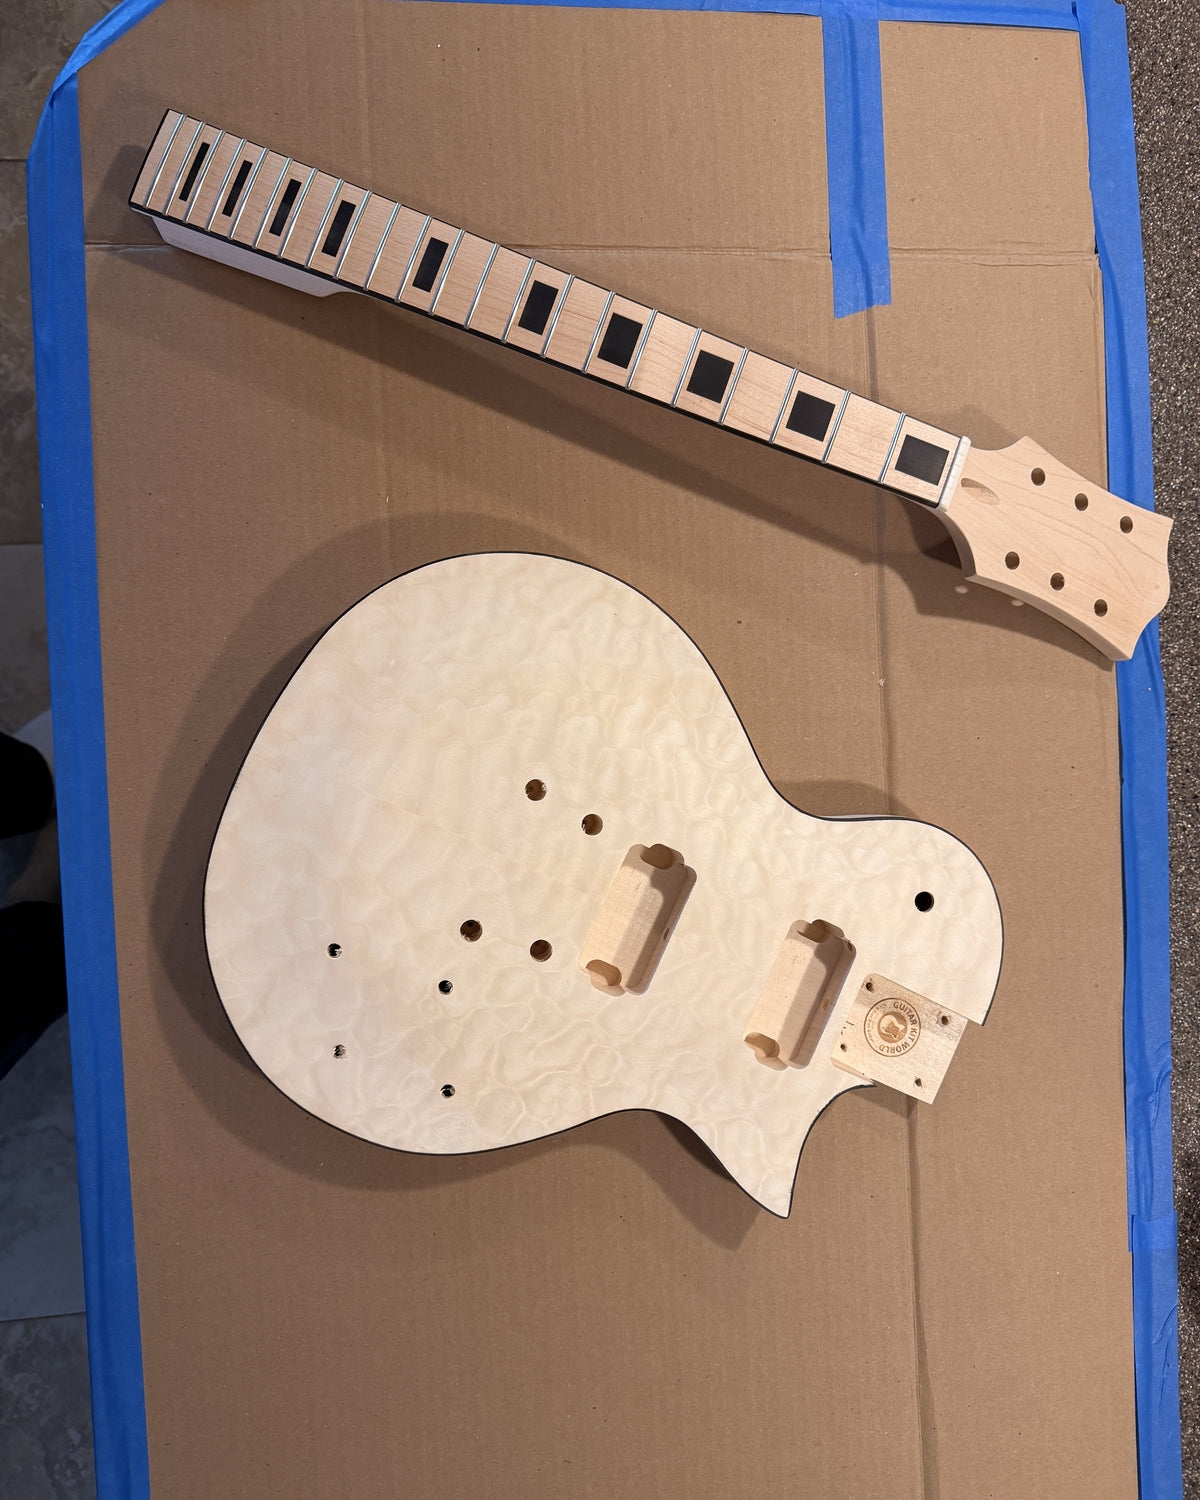
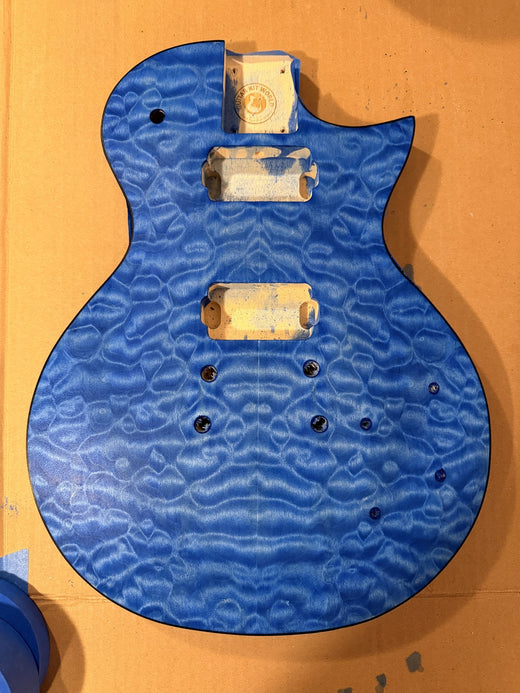
The kit as it arrived, quilted maple top still bare. Courtesy of Doug DeLuca.
Why does a dark color usually kill figured wood?
Quilt is not a pattern printed on the surface. It is the wood grain itself running in waves, so light entering the top hits fibers at constantly changing angles and bounces back unevenly. Tilt the guitar and the bright areas and dark areas swap places. That shimmer is the whole point of a figured top, and it lives below the surface, not on it.
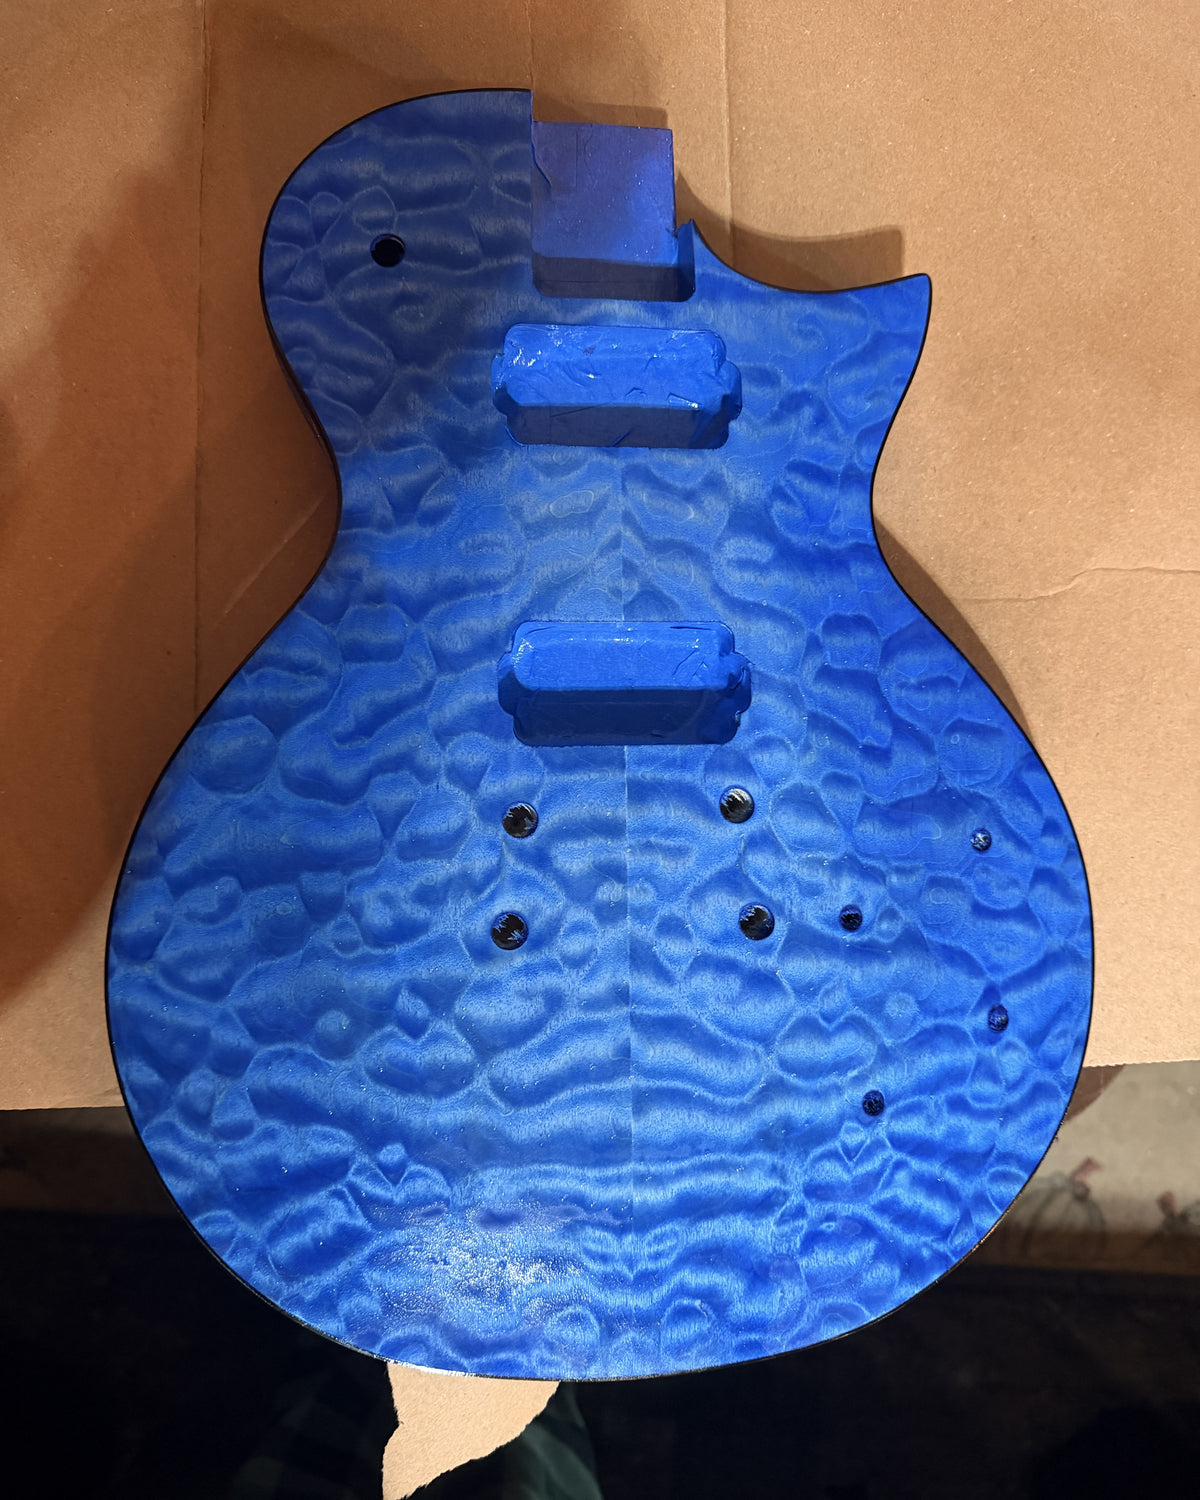
This is why the finish decision matters more on a figured top than on a plain one. A pigmented stain or a paint works by sitting in a layer of colored solid particles on top of the wood. That layer is opaque, so it blocks the light before it ever reaches the grain, and the quilt disappears under it. A dye does the opposite. Dye is transparent color dissolved in a carrier that soaks into the fibers themselves, and because the wavy grain absorbs it unevenly, the dye does not just preserve the figure, it exaggerates it. The dark areas take more color, the light areas take less, and the contrast goes up. That is what Doug and his son used on this top, and you can see it happen in one photo.
The dye stage. The quilt is more visible here than it was on bare wood. Courtesy of Doug DeLuca.
Compare that to the bare top two photos up. The wood did not change. The dye simply made the existing figure legible.
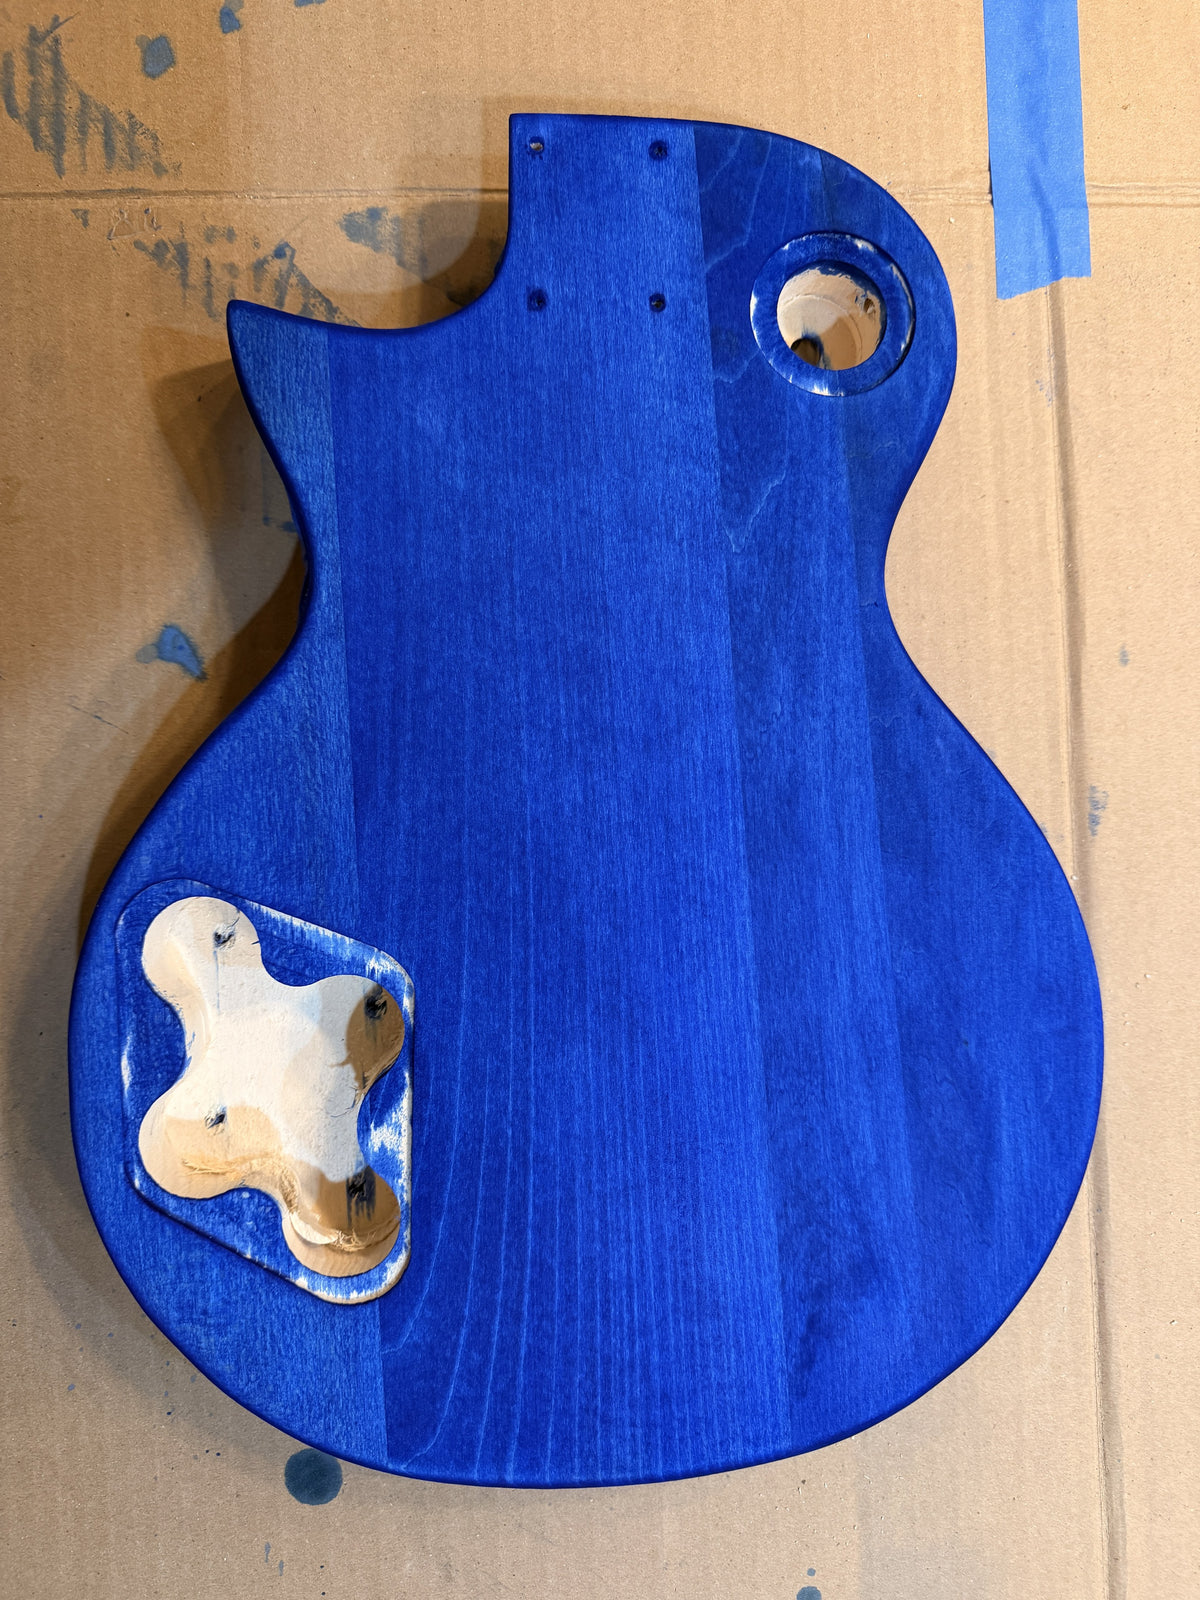
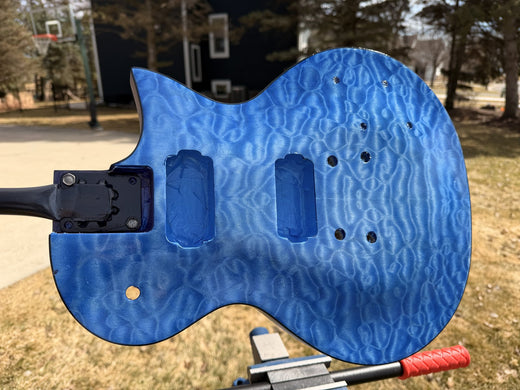
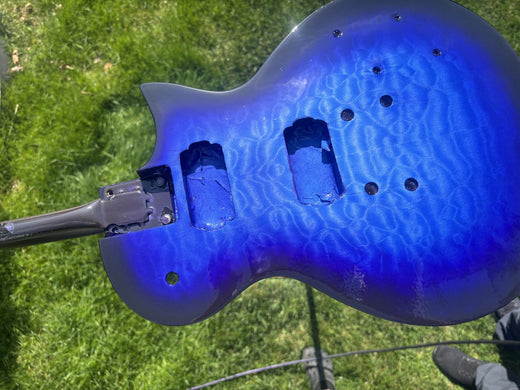
The back took the same dye on the same day. There is no veneer here, so the color goes straight onto the basswood and reads flat. That contrast is the whole argument for a figured top. Courtesy of Doug DeLuca.
How do you get a dark burst without losing what you just gained?
Here is the trap. Having made the figure pop with a bright dye, you now want a burst, which means dark edges. Spray an opaque black around the rim and you have covered up the part of the top you worked hardest for.
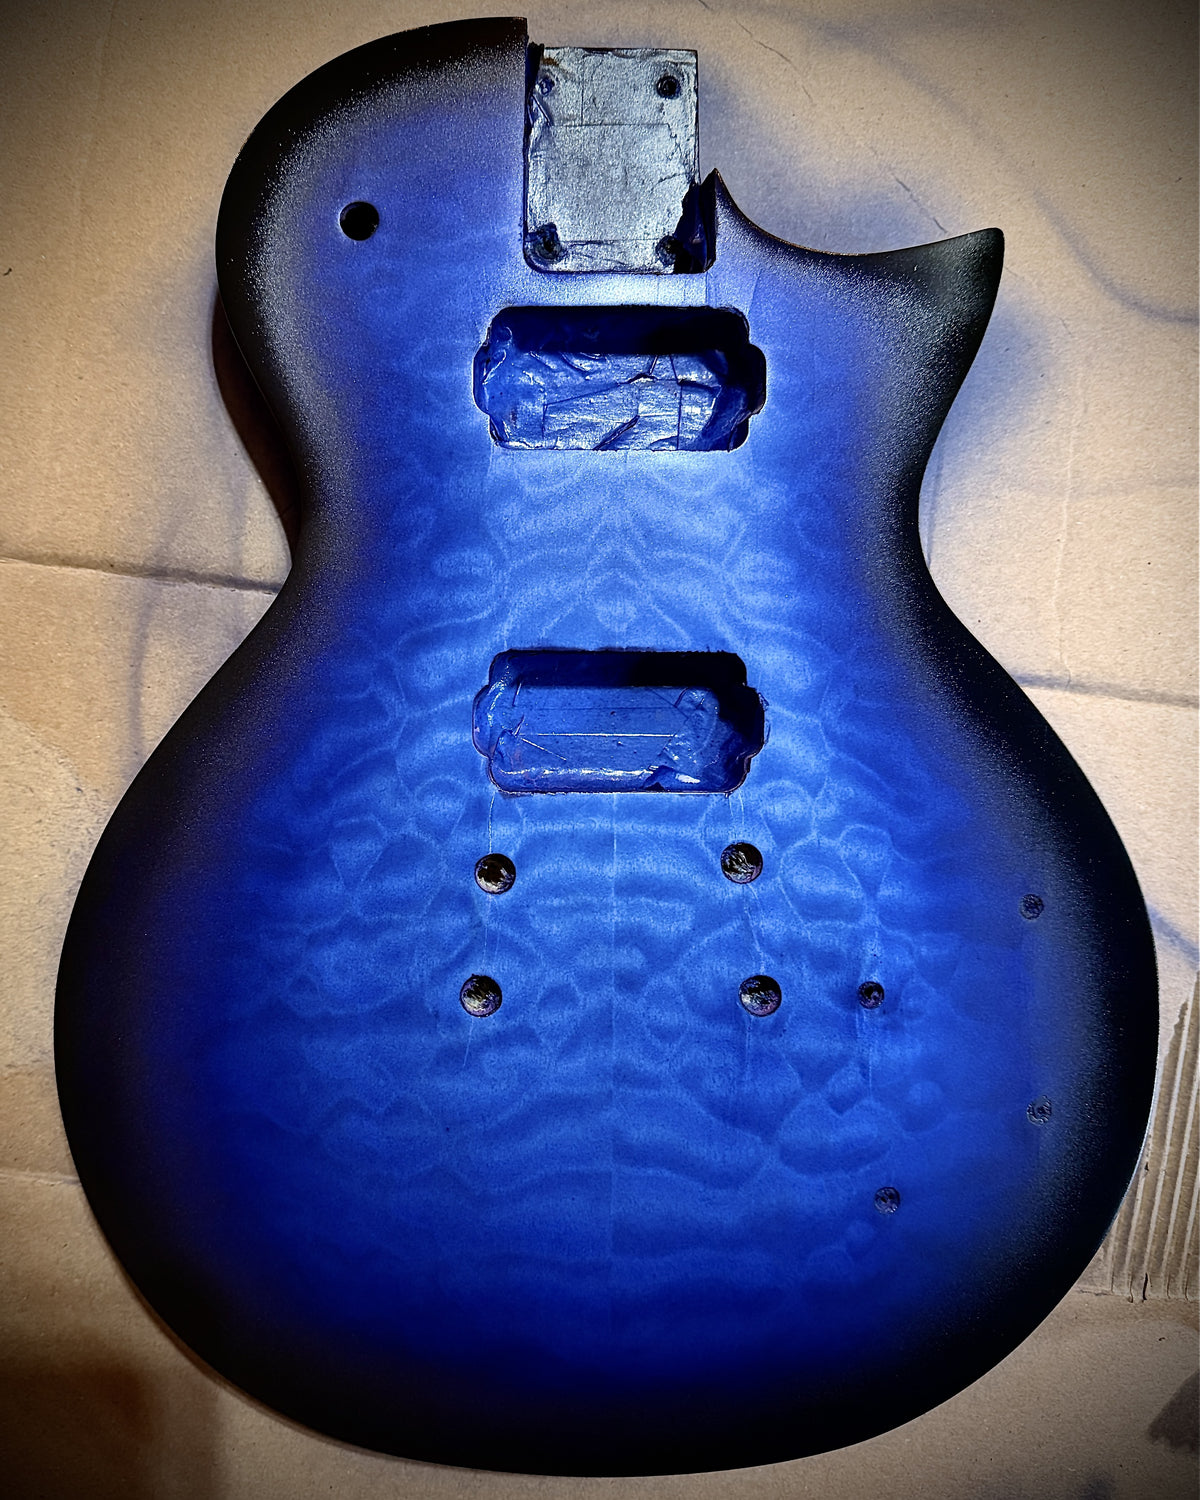
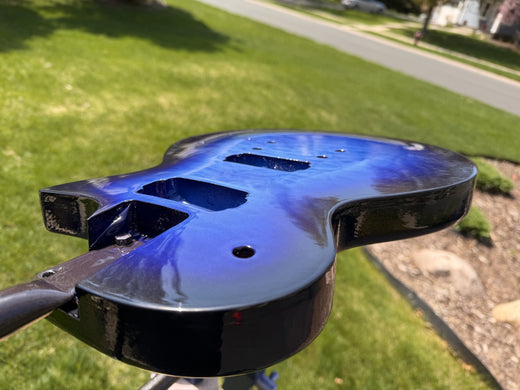
The answer on this guitar was to keep the dark transparent too, and to keep it at the edges. The center of the top stays bright and untouched, the color deepens gradually outward, and the rim goes nearly black. Because the dark is still a transparent color rather than a solid one, the quilt keeps running underneath it right to the edge, which is visible in the finished photos if you look at the shoulders of the body.
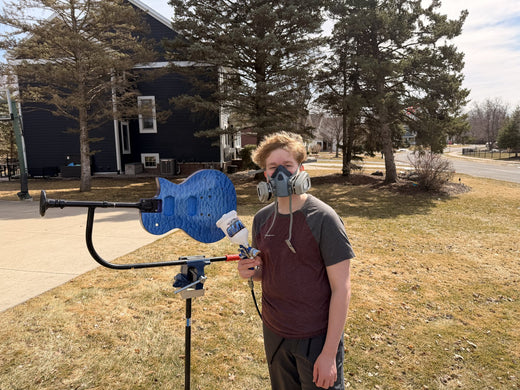
Spraying outdoors, respirator on, cavities masked and the body clamped in a vise. The top is still at the bright dye stage here, before the burst went on. Video courtesy of Doug DeLuca. Watch the rest of the build.
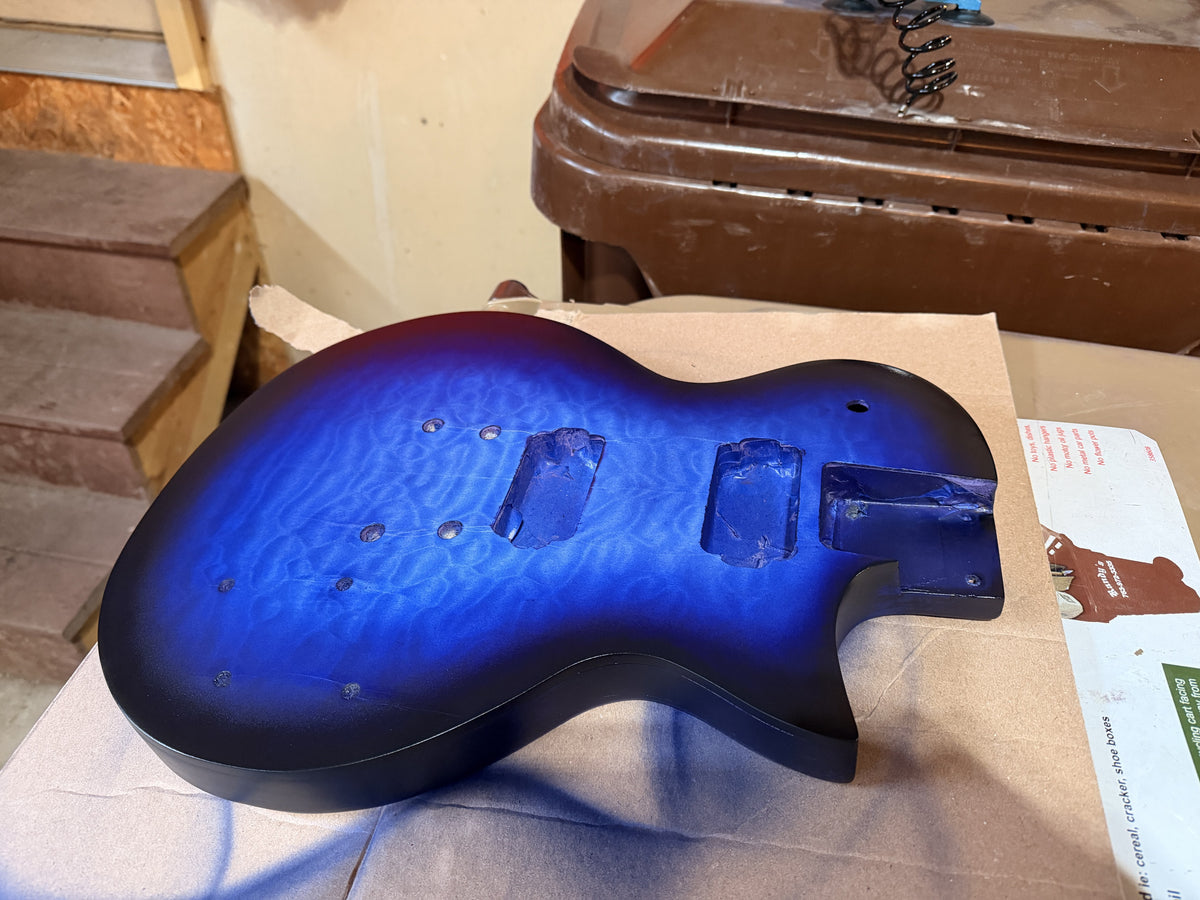
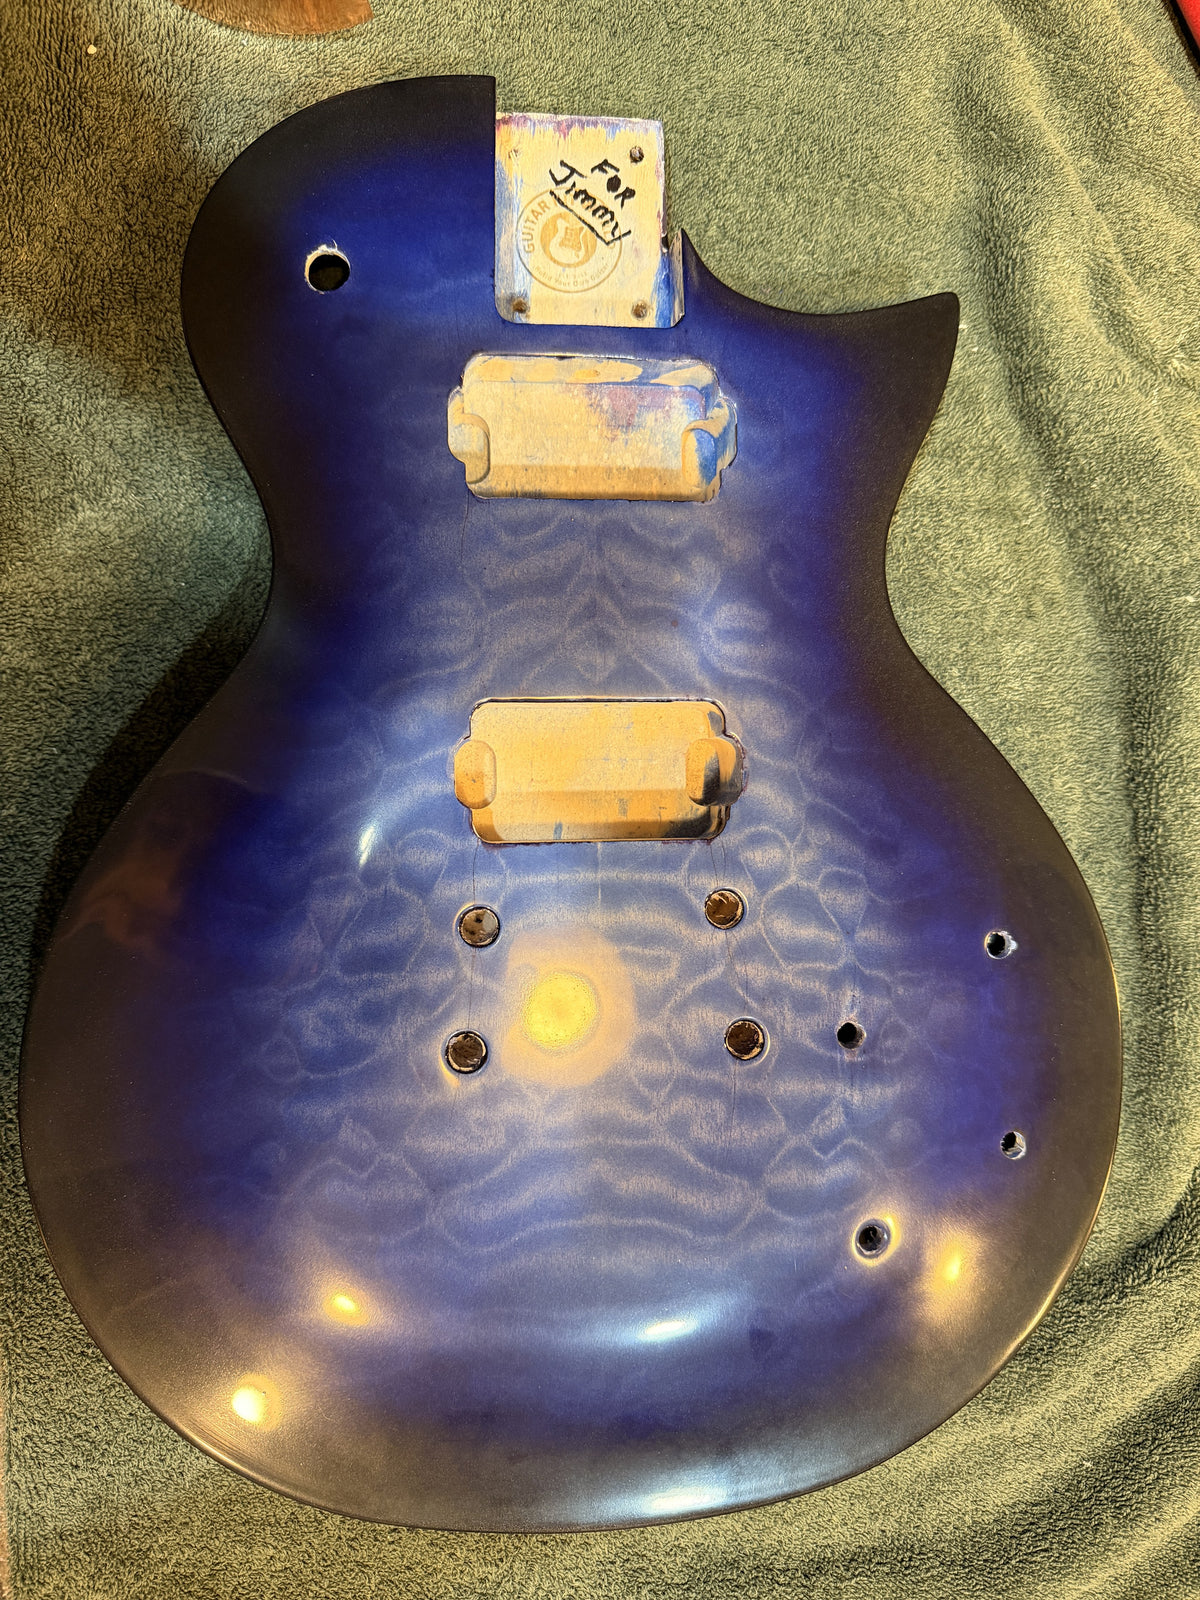
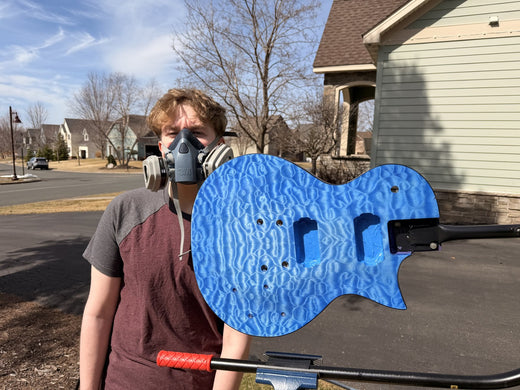
The burst laid over the dyed top, cavities still masked. Courtesy of Doug DeLuca.Still matte here. The gloss comes from the clear coat, not the color. Courtesy of Doug DeLuca.
There is a second reason those edges are the darkest part of the guitar. The veneer is thinnest and most vulnerable exactly where the body curves away at the rim, which is the first place a sander goes through. A burst that is darkest at the rim is a good looking choice and a forgiving one at the same time.
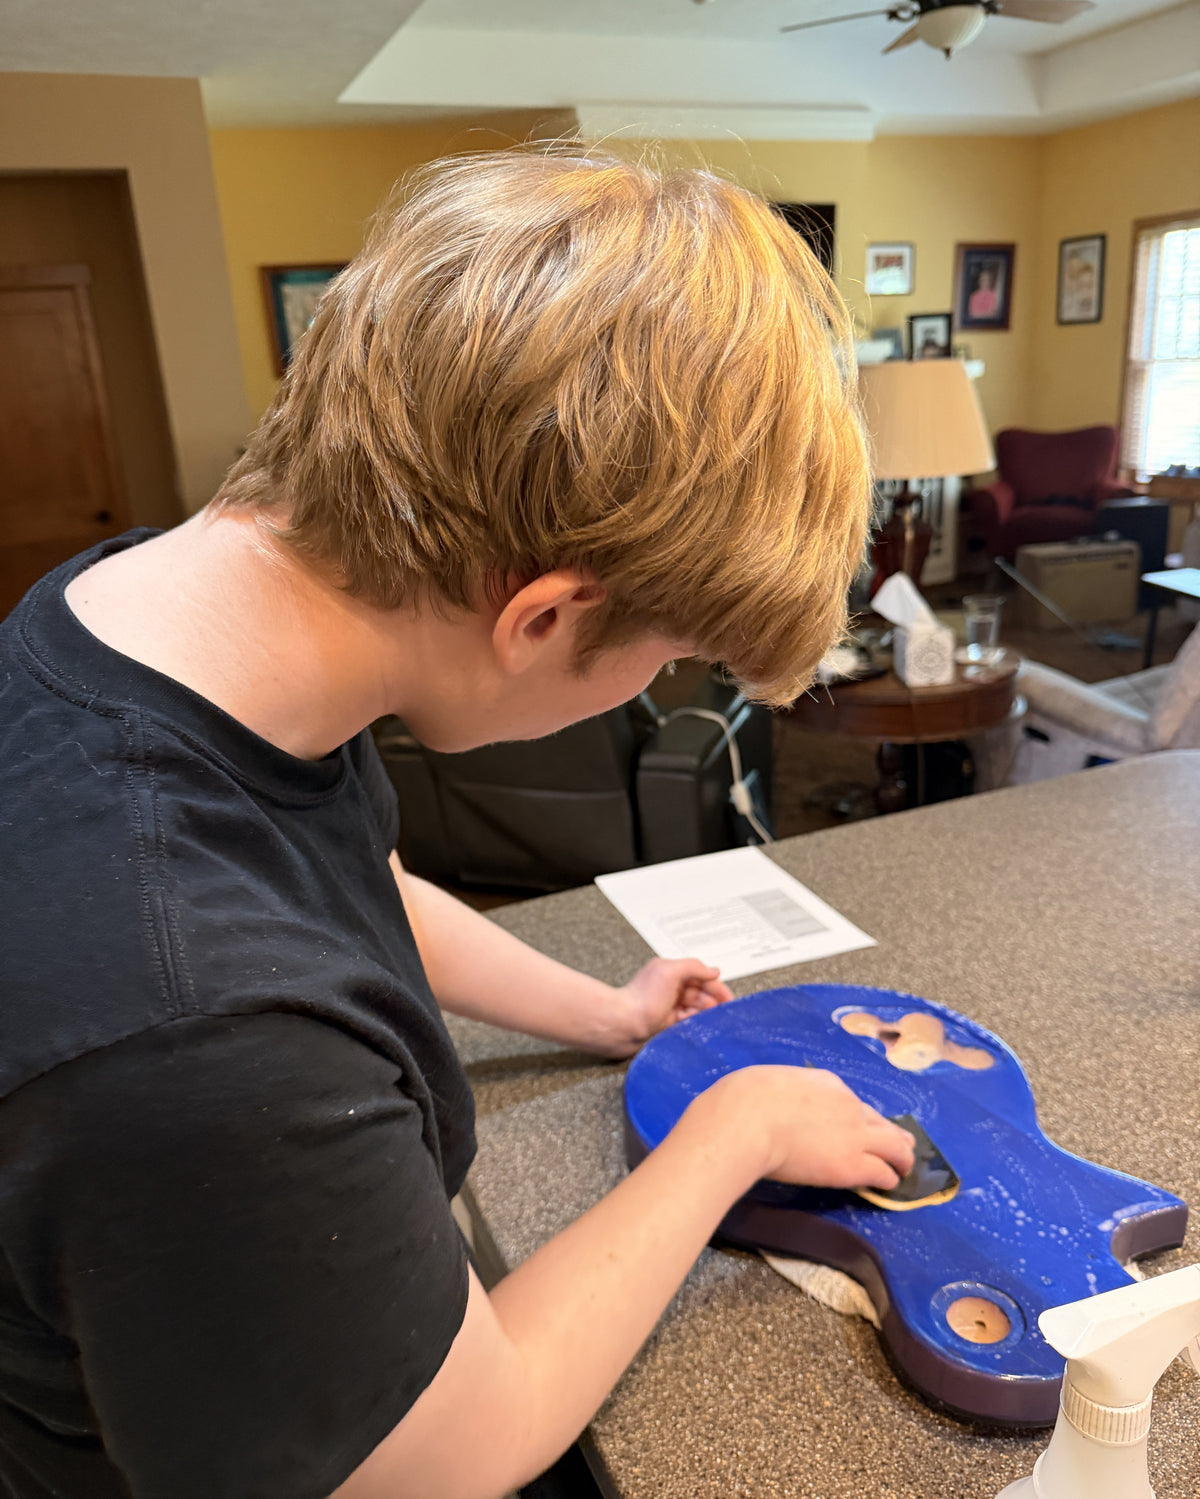
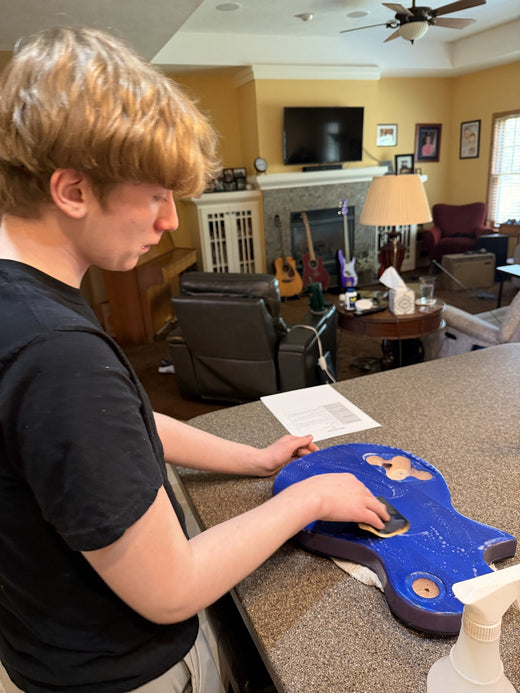
Between coats the top was sanded by hand rather than with a power sander. On a veneer this thin that is not fussiness, it is the difference between a flat surface and a bare patch you cannot fix, because a sand-through cannot be sanded out.
Hand sanding between coats, kit instructions within reach. Courtesy of Doug DeLuca.
What Doug and his son got right
They did the body first, and slowly. Doug told us in May, part way through: "we’re going slow on the build. Body first (the hardest in my humble opinion) and then the main build." He is right that it is the hardest part, and doing it first is the correct order. Finish work is the one stage you cannot rush and cannot easily undo, and it is far easier on a bare body than on an assembled guitar you have to strip.
They dyed rather than painted. On a plain top it would not have mattered much. On quilted maple it is the difference between a blue guitar and this guitar.
They kept the dark part of the burst transparent. An opaque black at the rim would have been easier to spray and would have ended the figure at the edge of the body. Keeping it transparent is more work and it is the reason the top reads as one piece of wood rather than as a wood center with a painted border.
How good can a clear coat done at home actually look?
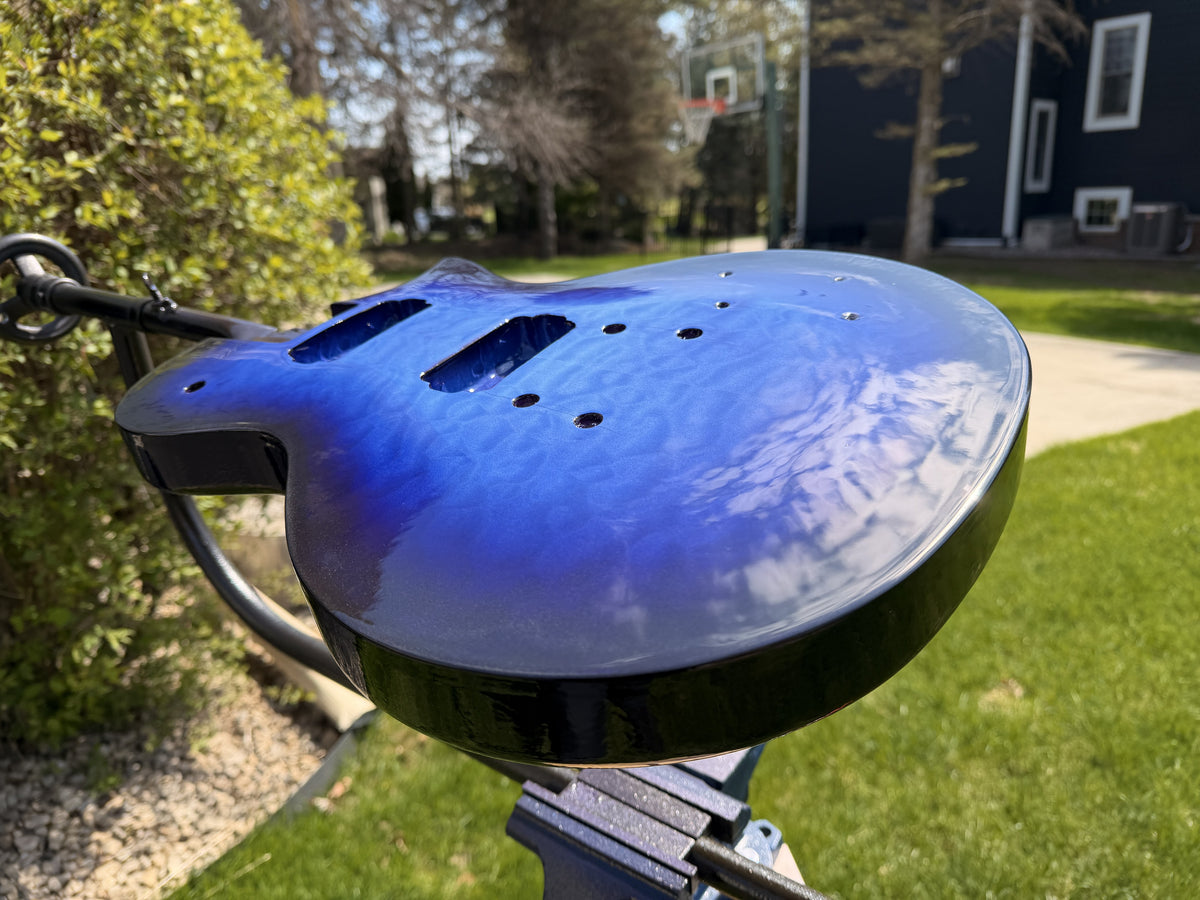
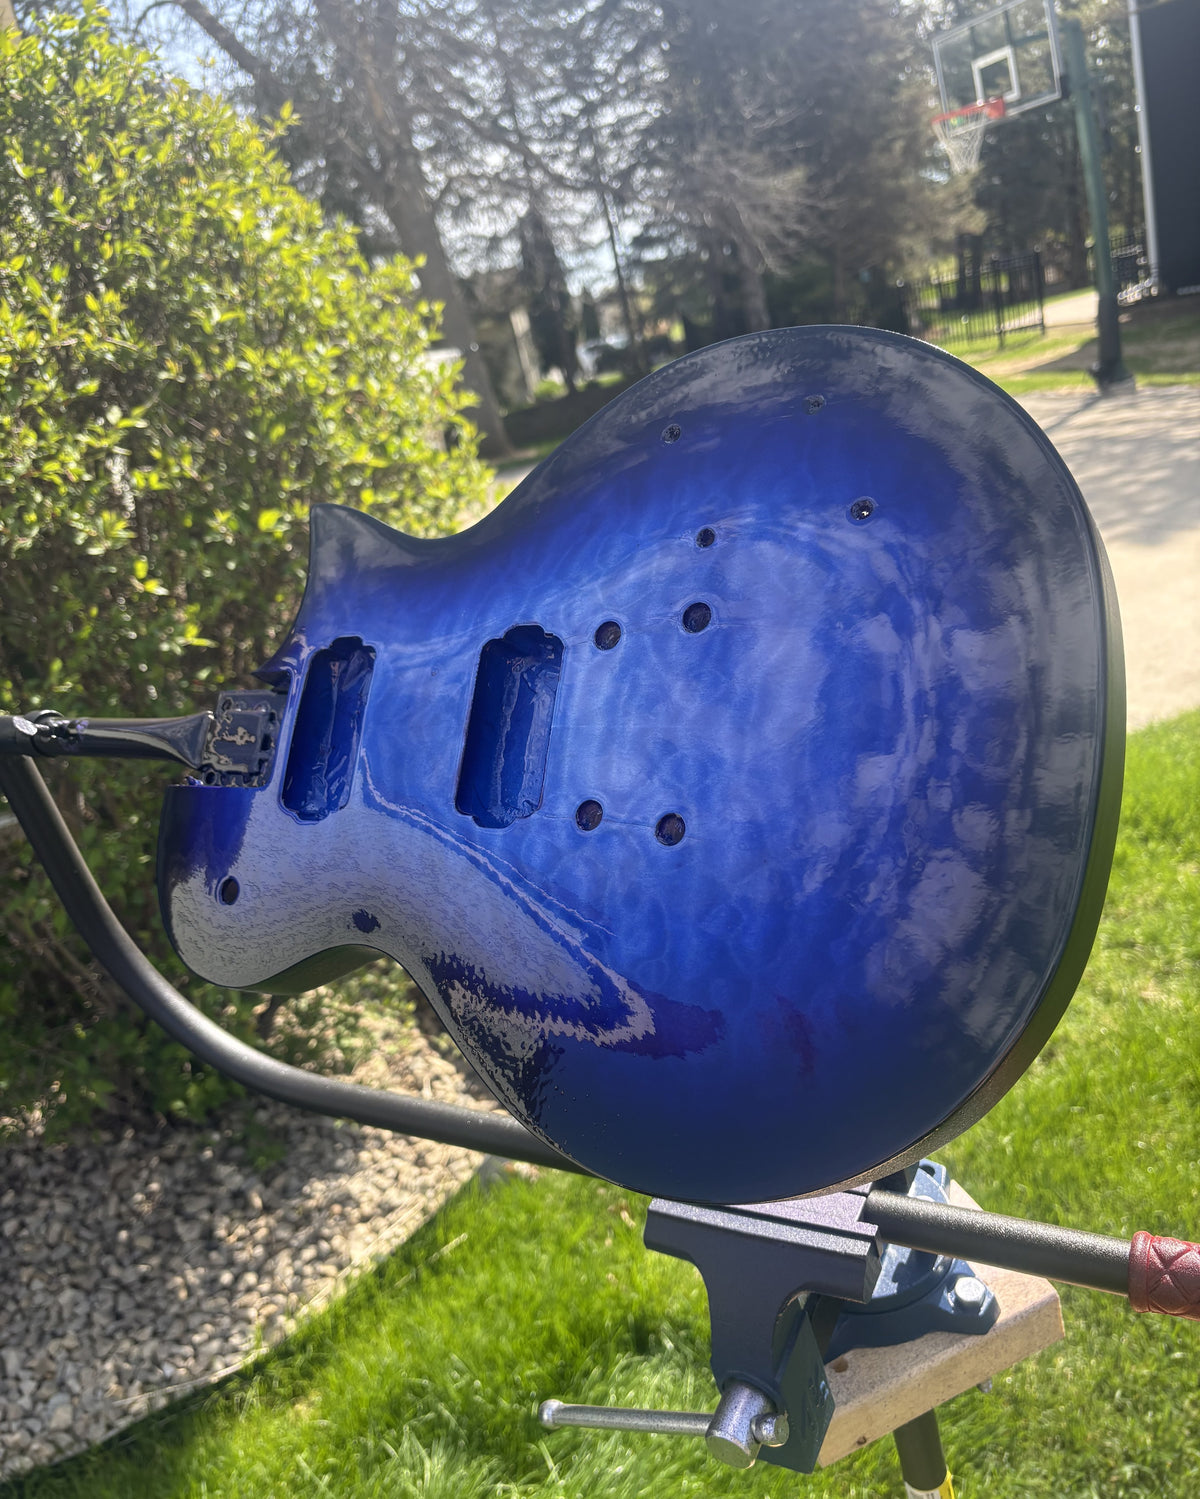
The clear coat is where a home finish usually gives itself away, and this one does not. The reflections running across the top in the daylight photos are unbroken, which means the surface is genuinely flat rather than merely shiny. Getting there means building enough clear to sand level without cutting back into the color underneath, and on a thin veneer that is a narrow window.
The finished top in daylight. Note the figure still reading through the dark edge. Courtesy of Doug DeLuca.The full face before assembly. The quilt keeps running right into the near black rim. Courtesy of Doug DeLuca.Every cavity stayed taped from the first coat of dye to the last coat of clear. Masking is not glamorous and it is the reason there is no finish in the pickup routes. Courtesy of Doug DeLuca.
Should you swap the hardware that comes in the kit?
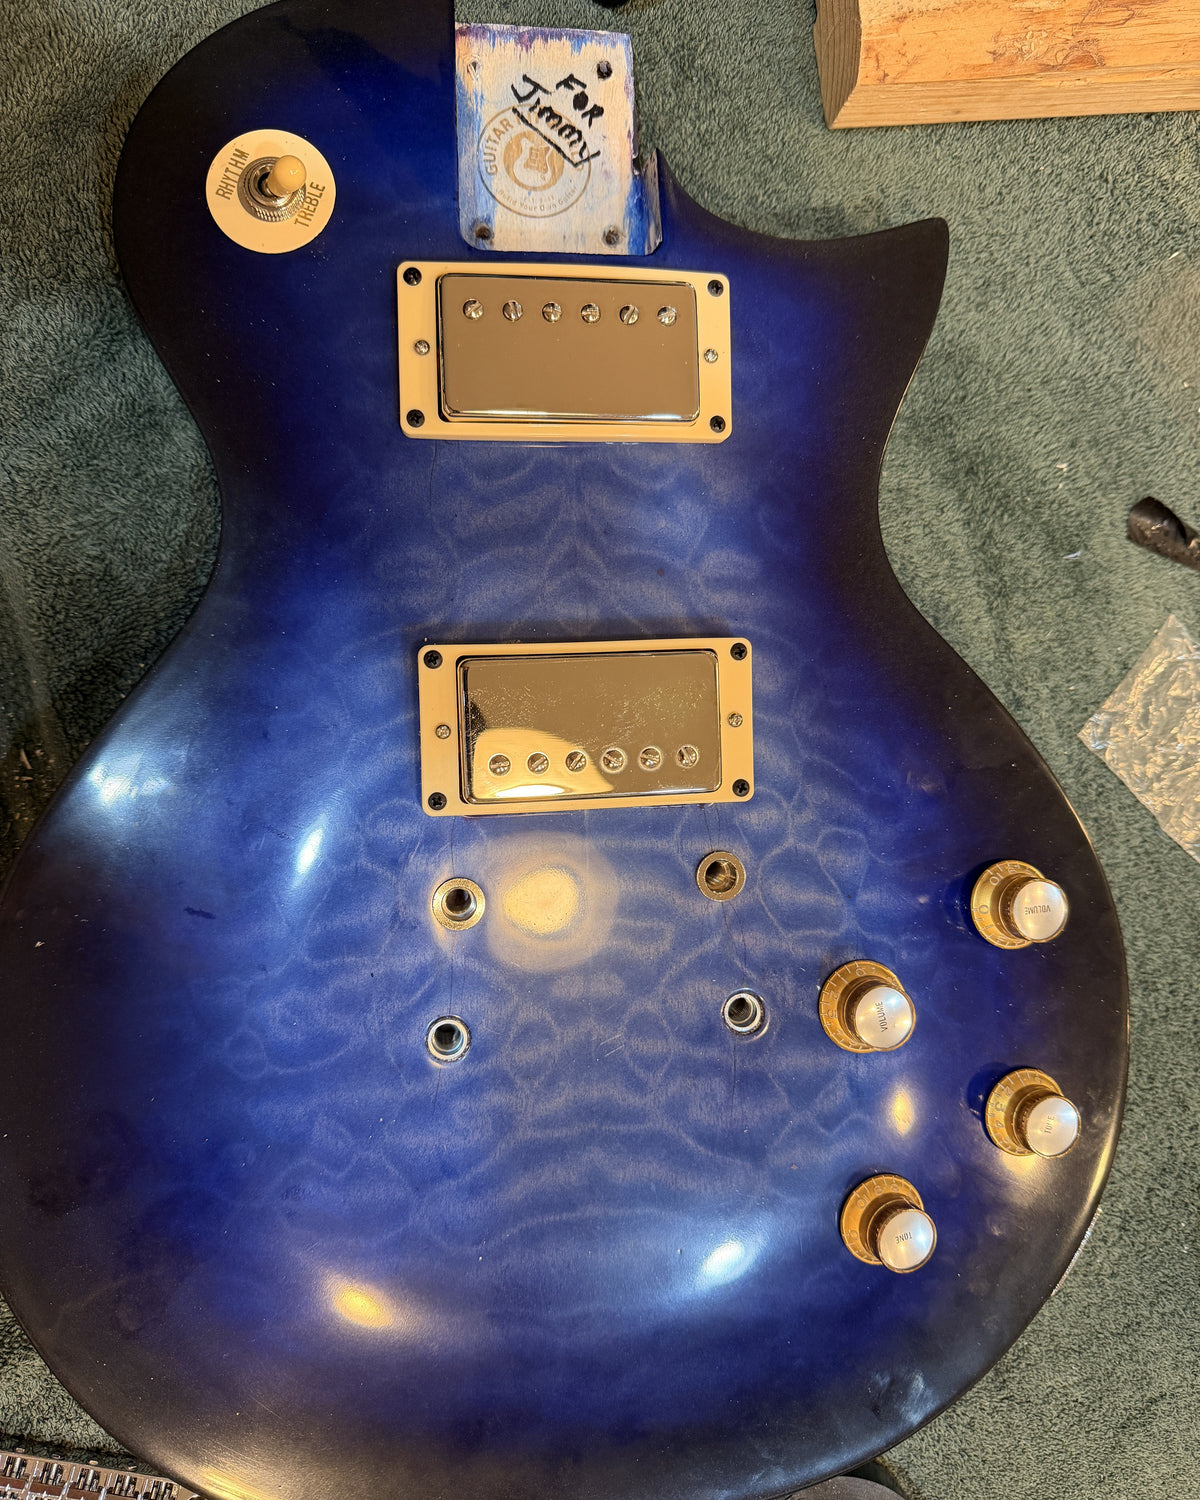
This kit ships with black hardware throughout: black tuners, black pickup covers in black mounting rings, a black bridge and stopbar, black knurled dome knobs, a black jack plate. Doug went the other way entirely. The finished guitar wears gold rings and covers, gold pot ferrules, and gold bell knobs with pearl inserts, which is not just a color change but a different style of knob from the ones in the box.
Gold against a blue burst is a specific taste and it is a defensible one. Black hardware on a dark burst tends to vanish into the finish. Gold separates from it and picks up the warm side of the maple neck.
One more detail sits in this photo. Before the guitar went together, the wooden block that protects the neck pocket in transit was given a dedication in marker.
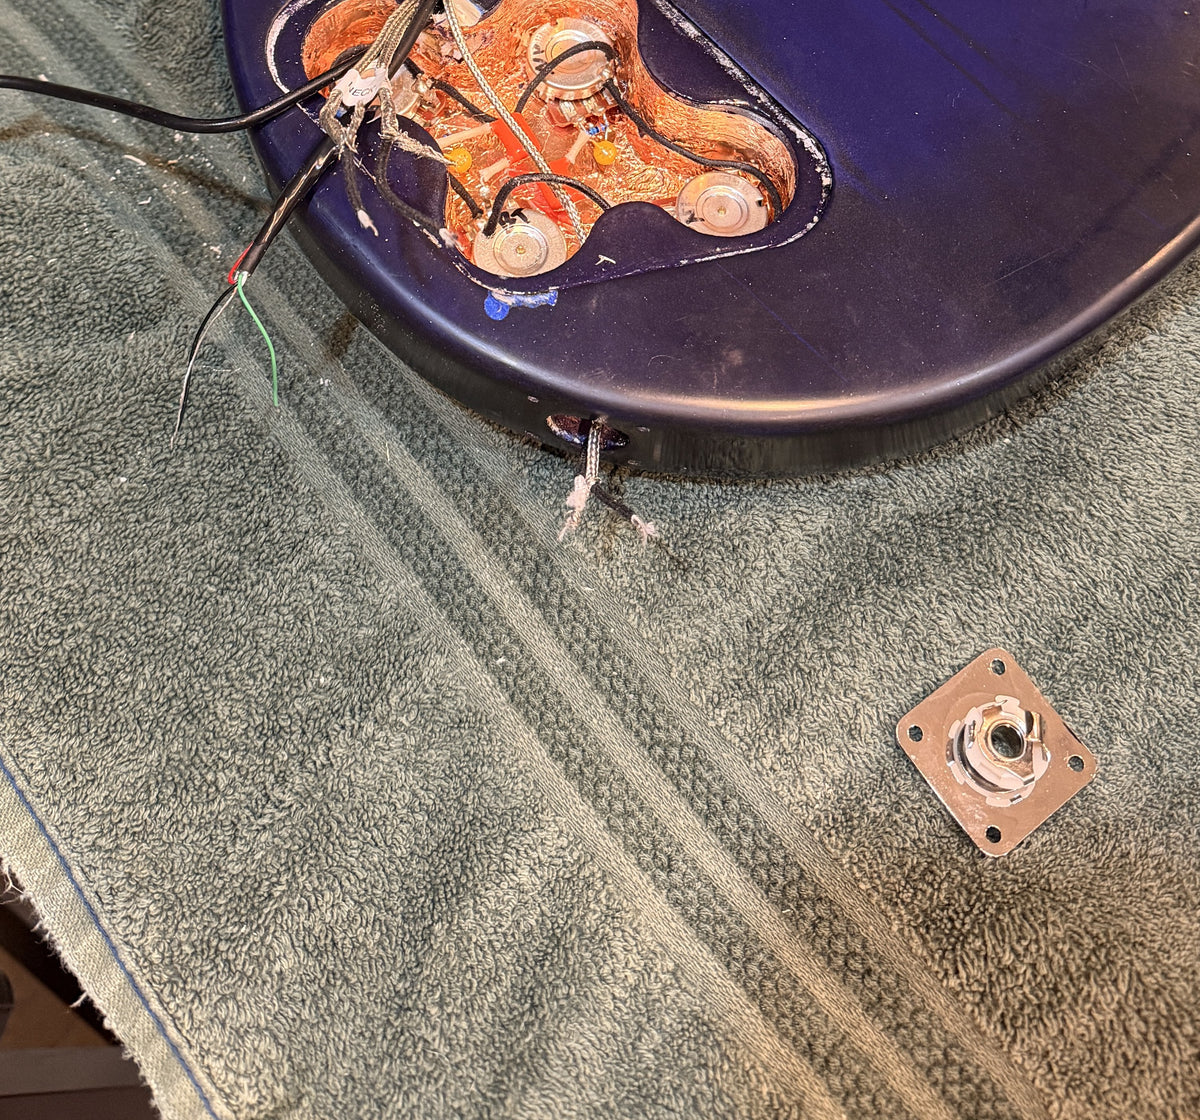
Gold hardware throughout, and a dedication written on the neck pocket block. Courtesy of Doug DeLuca.The other half of the job. Four pots in a copper shielded cavity, pickup leads labelled before anything was soldered. Two volumes, two tones and a three-way toggle is a lot of joints for one pocket. Courtesy of Doug DeLuca.
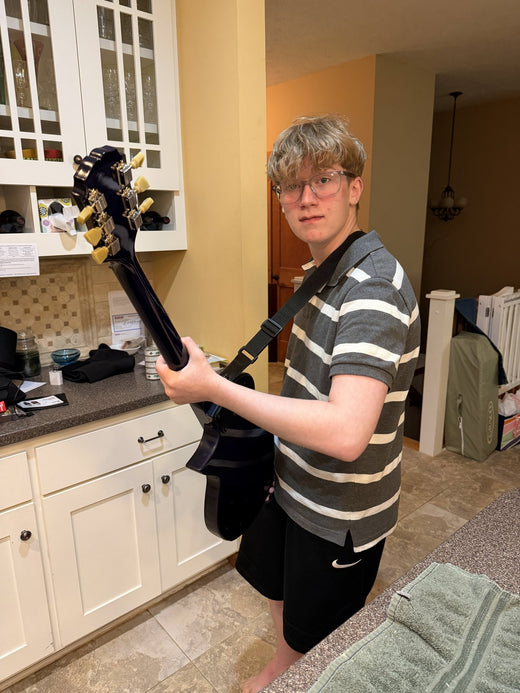
Assembled, set up and plugged in, this is where a few months of weekends ends up.
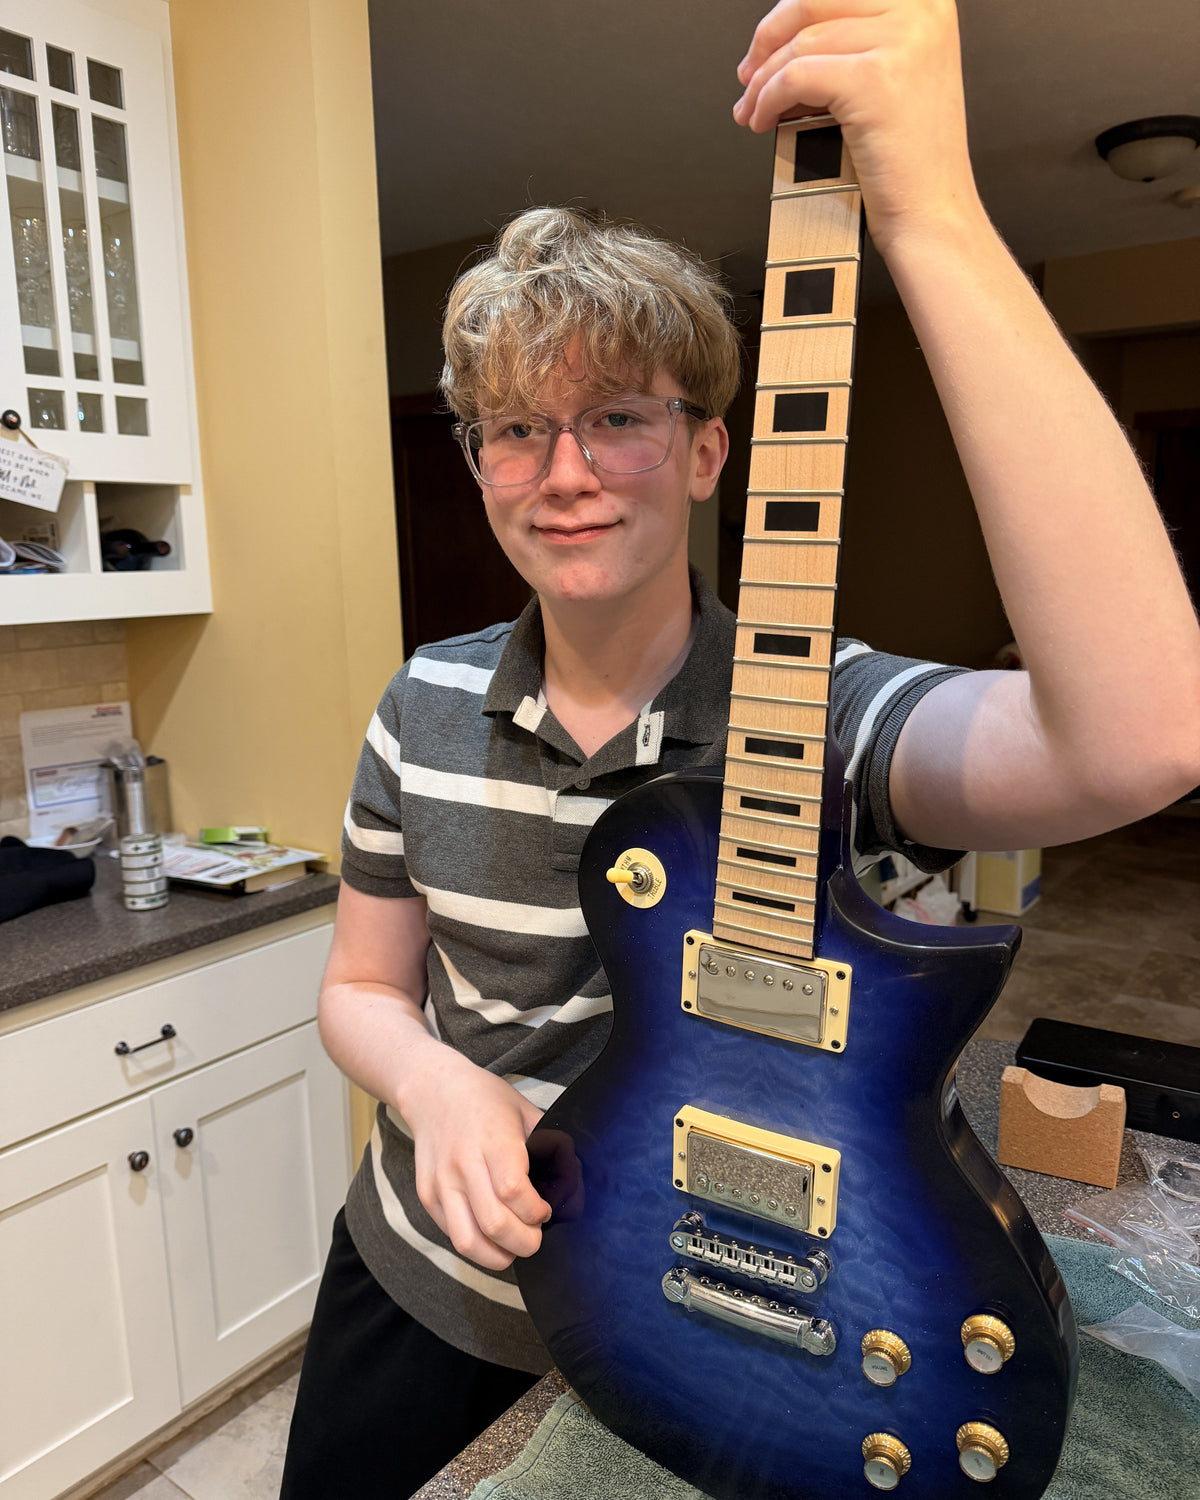
The completed L1, gold hardware and all. Courtesy of Doug DeLuca.
And the first time it was played through an amp.
The finished guitar, plugged in and played for the first time. Built by Doug DeLuca and his son.
Doug sent us five short clips from the six months of work. They are collected here as a playlist, in build order: Blue Quilted Top LP-Style Guitar Build. Built by Doug DeLuca and his son.
What you can take from this build
On a figured top, choose a dye, not a pigmented stain. Test it on the offcut or the inside of the control cavity first, and look at it wet, because that is closer to how it will read under clear.
Do the body before you do anything else. It is the longest stage and the one that punishes impatience.
Keep the dark part of a burst transparent. Opaque black at the rim ends the figure at the rim.
Sand the top by hand. A veneer is thinner than you think, and a sand-through cannot be sanded out.
Buy the respirator before you buy the finish. Not a dust mask.
Build the clear coat in thin passes. The flat reflection is the thing people actually notice, and it comes from levelling, not from more gloss.
Another quilted maple finish: Steve Madden went amber instead of blue, and practiced on six plywood bodies first. See how he did it with Tru-Oil.
Common questions about finishing a figured top
Will stain hide the figure on a quilted maple top?
A pigmented stain will dull it badly, and paint will hide it completely. Both work by leaving colored solid particles sitting on the surface, and that layer blocks light before it reaches the wavy grain that creates the figure. A transparent dye soaks into the fibers instead and lets the light through, so the figure stays visible.
What is the difference between a dye and a pigmented stain?
A dye is color dissolved in a carrier, so it penetrates the wood fibers and stays transparent. A pigmented stain carries solid particles of color that lodge in the surface and in the pores, so it is partly opaque. On plain wood the difference is small. On figured wood it decides whether the figure survives.
Can you get a burst without spraying opaque black at the edges?
Yes, and on a figured top you should. Use a darker concentration of the same transparent color, or a darker transparent color over it, and build it up gradually from the rim inward. The edge reads as near black while the grain keeps running underneath it.
Is it easy to sand through a quilted maple veneer?
Yes, and the edges are where it happens. A veneer top is a thin sheet over the body wood, and the rim is where a sander concentrates pressure as the body curves away. Sand the top by hand, keep the block flat, and stay off the edges. A sand-through cannot be sanded out.
How hard is an L1 kit for a first-time builder?
We rate it intermediate, around five out of ten. The bolt-on neck removes the hardest structural step, since there is no glue-up to align and clamp. The work is in the finish and in the wiring, where two volumes, two tones and a three-way toggle add up to a lot of soldered joints in one cavity.
Do you need a respirator to finish a guitar at home?
For anything you spray, yes, and a dust mask is not a substitute. A dust mask filters particles. Solvent vapor passes straight through it. Use a half-face respirator with cartridges rated for organic vapor, work outdoors or with real ventilation, and read the label on whatever you are spraying.
What was this build actually for?
Doug told us why he bought the kit in the first place, back in February, before any of the finish work had happened:
Yes, I would recommend Guitar Kit World to my friends and family because it provided a great learning experience with my 16 year old son. He and I are building it together. I’ll take that over losing him to video games! 😊
And again in August, once it was finished and playing:
The kit from Guitar Kit World allowed me and my son to share in the experience. We were able to have quality time together, that for the father of a 16 year old, is at a premium. This kit went together well, with my boy learning how to paint and solder, among other things. Thank you Guitar Kit World, for the guitar, but more so for the memories we created.
A sixteen year old who now knows how to lay down a dye, level a clear coat and solder a wiring harness learned all three on an instrument he gets to keep and play. That is a good trade for a few months of weekends.
The rest of the build, in order
Doug sent us the whole camera roll, about five hundred megabytes of it, once the article was already written. These are the frames that did not make it into the story above, in the order they were taken.
February 18 — The top at the dye stage, cavities maskedMarch 21 — The spraying setup, a vise on a stand in the drivewayMarch 21 — Respirator on, before any spraying startedMarch 21 — Clamped and ready, the quilt already reading through the dyeApril 12 — Levelling by hand between coatsMay 2 — Raking light, which is how you check a clear coat is actually flatMay 2 — The full face once the clear was cut back and polishedMay 30 — Assembled, strung and finished, three and a half months after the box arrived
Guitar built by Doug DeLuca and his son. All photographs and video courtesy of Doug DeLuca.
Doug, this is a seriously good looking guitar, and the restraint on that burst is the part that took skill. If you are working on a figured top right now and cannot decide between dye and stain, tell us what you are building and what you are afraid of, and we will tell you what we would do.
Finishing is the one guitar-building step you cannot undo. So Steve Madden practiced on six plywood bodies first, then gave his quilted maple kit five thin coats of Tru-Oil. Here is his method, and how he fixed the binding when it turned yellow.
Christoph and his son Fionn wanted a deep even black on an open-grained mahogany body with the figure still showing through, and the pores kept drying lighter than the surface. Follow the build from the bare kit to the finished bass, and see how they diagnosed it and what you can copy from their approach.
An acoustic-style bridge glues to the top and its position is permanent. Here is what the part is, the three ways it anchors strings, and how to fit each one on a kit build.

 Mark Maneja