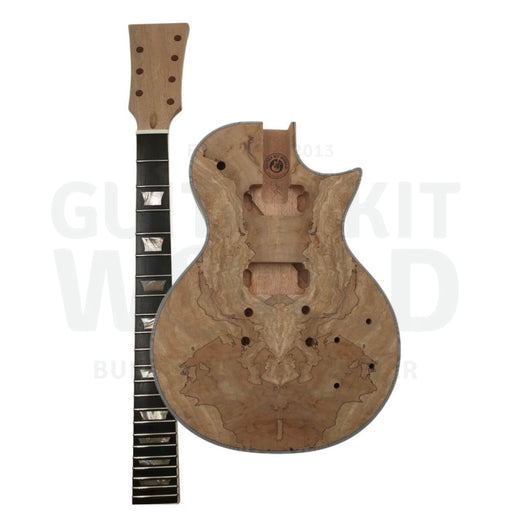
What happens when a metal guitarist builds his own guitar?
You get a raw, creative, and fully custom DIY journey, start to finish.
Tim, the man behind Rustic Outlaw Guitars and the band @2INTHECHESTofficial, took one of our LP-style kits and transformed it into a relic’d monster. His full video series captures the entire process, from unboxing to staining, modding, and more, and it’s now live on our YouTube channel.
Below, we’ve listed some of the key episodes from the series to showcase the most interesting moments of the build.
1. Unboxing the Kit
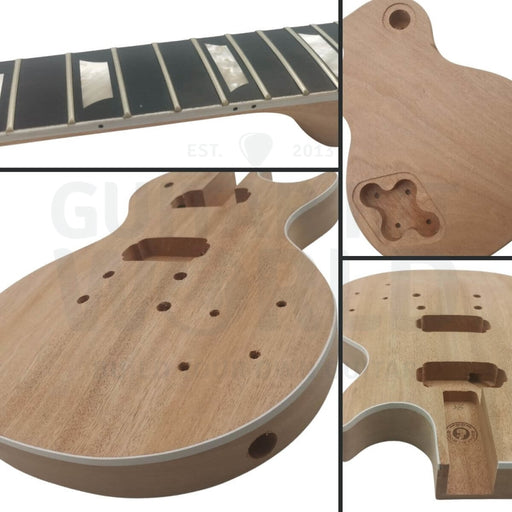
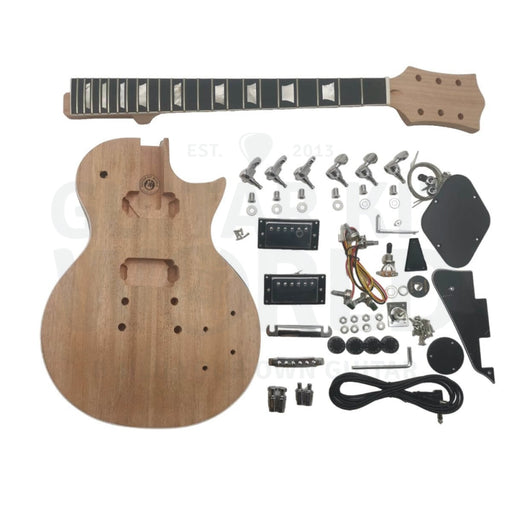
Tim kicks off the series by opening up the LP-style kit and sharing his first impressions of the parts, body, neck, and more. What you get straight out of the box.
2. Gluing the Neck
One of the most important steps in a set neck build: Tim walks through prep, alignment, and clamping for a rock-solid joint. This is where the sustain starts.
3. Planning the Middle Pickup Mod
Before any cutting happens, Tim shows how he measures and marks the body to add a 3rd pickup, turning a 2-pickup LP into a 3-pickup beast. Measure twice… maybe three times.
4. Aging the Finish with Vinegar
Tim reveals his secret recipe for giving the guitar body an aged, vintage vibe using a simple vinegar and steel wool mix. Relic look without breaking the bank.
Want to Build Your Own?
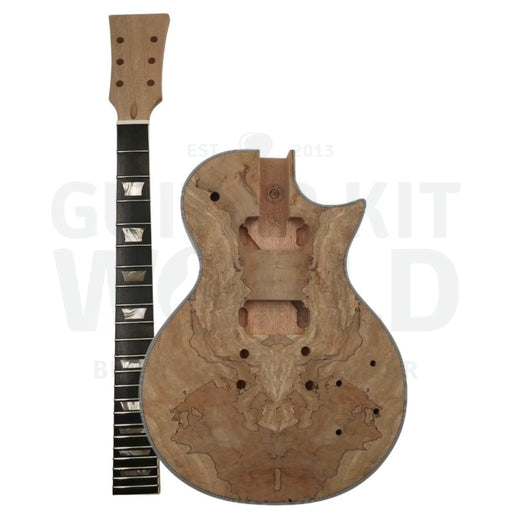
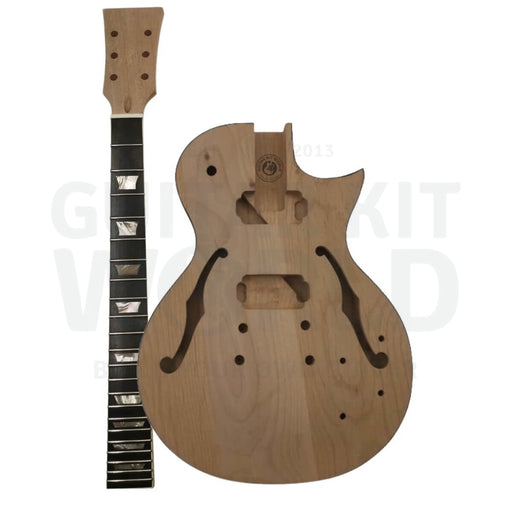
This entire series was built using our LP-Style Set Neck Guitar Kit, a solid foundation for any custom guitar project.
Finishing is the one guitar-building step you cannot undo. So Steve Madden practiced on six plywood bodies first, then gave his quilted maple kit five thin coats of Tru-Oil. Here is his method, and how he fixed the binding when it turned yellow.
Doug DeLuca and his sixteen year old son turned a bare quilted maple top into a deep blue burst, and the figure still reads through the darkest part of the rim. Here is the dye versus pigment decision that made it work, why the edges are the darkest part of the guitar, and what you can copy on your own figured top.
Christoph and his son Fionn wanted a deep even black on an open-grained mahogany body with the figure still showing through, and the pores kept drying lighter than the surface. Follow the build from the bare kit to the finished bass, and see how they diagnosed it and what you can copy from their approach.

 Nathan T.