For many of us once our guitar is assembled, set up properly and provided with a quality finish our attention turns to tone and how get the best sounding guitar we can. Tone comes down to a lot of factors e.g. build of the guitar, choice of amplification, playing ability and choice of pickups. The first two we can’t do much about short of throwing the baby out with the bathwater and the third option is a longer term commitment but we can upgrade our existing pickups, and it’s a lot easier than many people realize. One of the easiest ways to do so is to install a pre-wired pickup assembly.
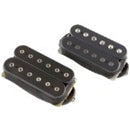
When choosing your pre-wired pickup assembly, you should look for quality in both the wiring and components used. Below we have listed some quality pre-wired pickups from established brands such as Dimarzio and EMG.
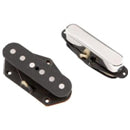
DiMarzio Twang King Neck/Bridge Pickup Set for Tele
* Please note prices listed above are current at time of writing
Tools needed
Installing a pre-wired pickup assembly only requires a few basic tools and some solder. These tools will allow you to take out the existing pickup assembly as well as installing the new one into your guitar. It's not all that tricky and the entire job can be finished quickly.
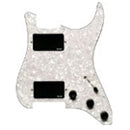
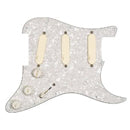
New pre-wired pickup
Soldering Iron: For the best results, use at least 30 watts.
60/40 Rosin Core Solder: It’s important not to use acid core solder on guitar kits.
Diagonal Cutters
Half Inch Box-End Wrench
Number 3 Phillips Screwdriver
Getting Started
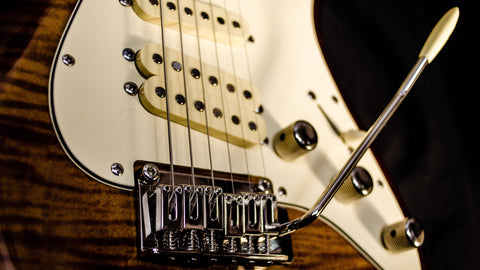
First, you’ll need to remove the strings from the guitar so they’re not in the way and don’t get damaged. You will also need to remove the screws that hold the pick-guard onto the guitar body if applicable. You should also remove the two screws that hold the output jack plate on.
The Wiring
There are three wires that will need to be cut from your current setup. One is the ground wire that goes from the tremolo claw to the casing ground. Clip this wire as close as you can to the casing with your diagonal cutters. The second two wires you will need to clip are under the output jack plate, which is why you needed to remove the screws earlier.
Removing the old Pickups
Next, remove the plastic hardware from the old pick-guard assembly. You’ll need it again, unless you have opted for a mounted pick up assembly and are just swapping one out for the other.
Next loosen and remove the control nuts on your new pickup assembly. Then use your screwdriver to loosen the screws that hold on the pickup selector switch. Be careful to set aside the nuts and screws where you won’t lose them.
Loosen all the screws that hold the pickups on the pick-guard plate and lift the guard off.
Repeat this process with the old pickup assembly from the guitar as well. If you don’t wish to use the old pick-guard, you can skip this step.
Adding the New Pickups
Now you’re going to rewire the pre-wired pickup on the body of your guitar. You may want to lay down a piece of fabric to protect the body of your guitar from scratches in the finish. There are three wires to connect, the same three that you clipped earlier. The wires to the output jack and the wire from the tremolo claw to the ground casing. Solder the ground wire and attach the wires to the output jack.
Now all you have to do is replace all the screws and hardware and restring the guitar. As you can see the entire process is pretty simple compared to assembling and finishing a guitar and it's another way to add your own flavor to your newly assembled electric kit guitar.
What’s your favorite pickup and why? Why not add a comment below.